
Last updated November 15, 2026
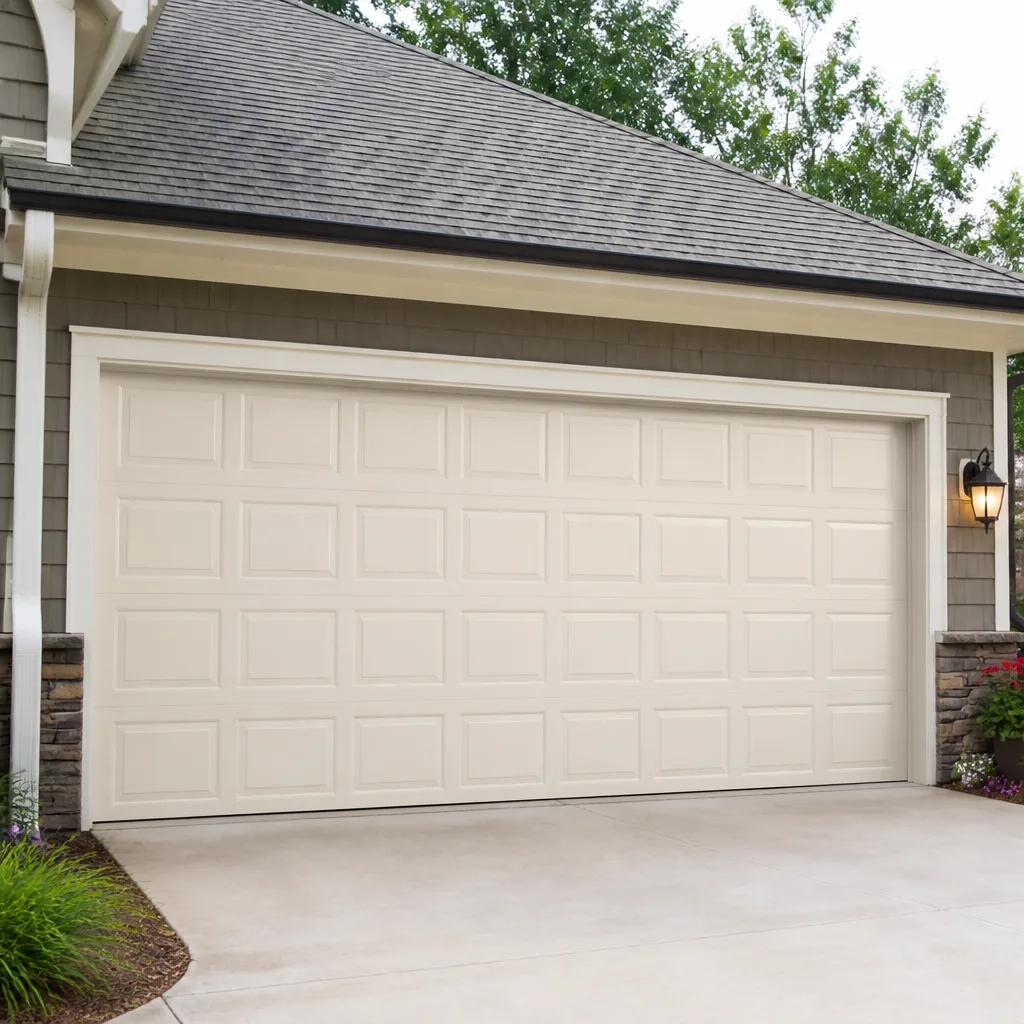 Raised-panel steel
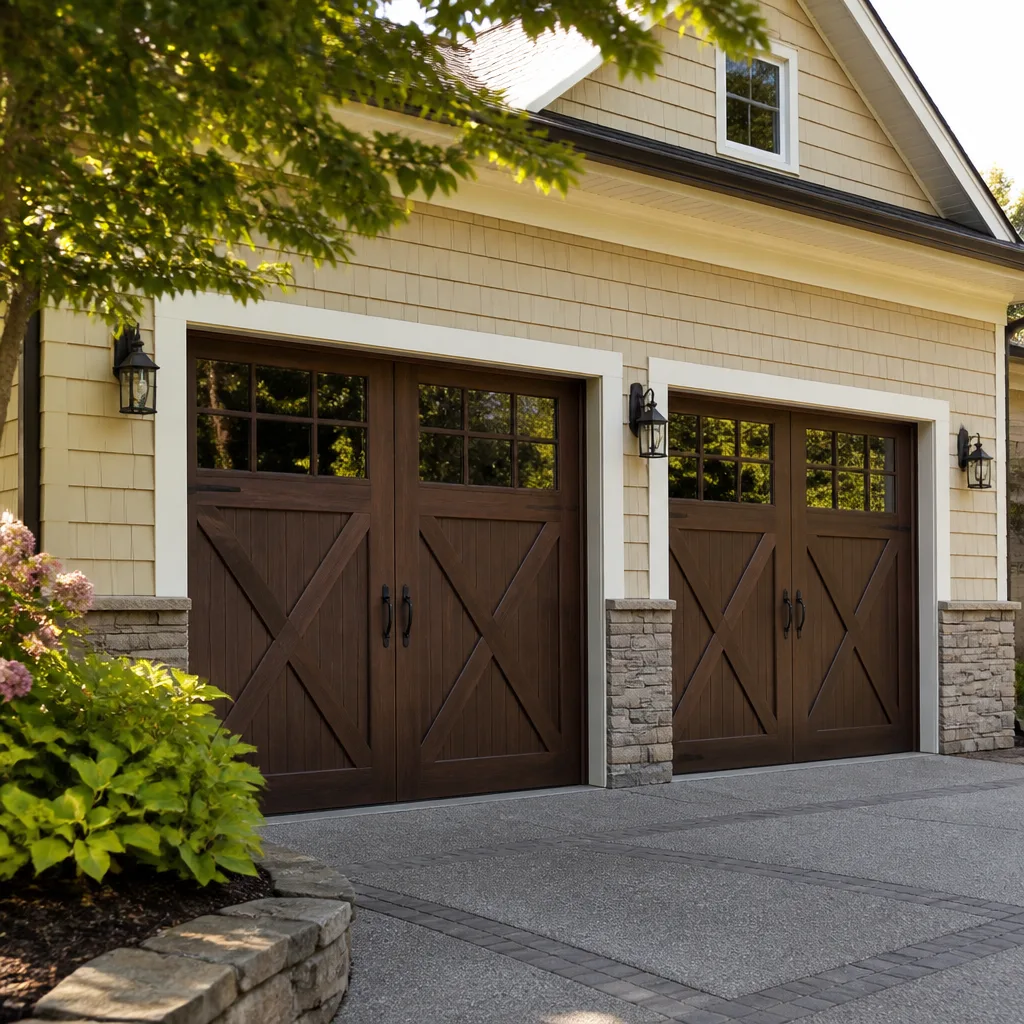 Carriage house
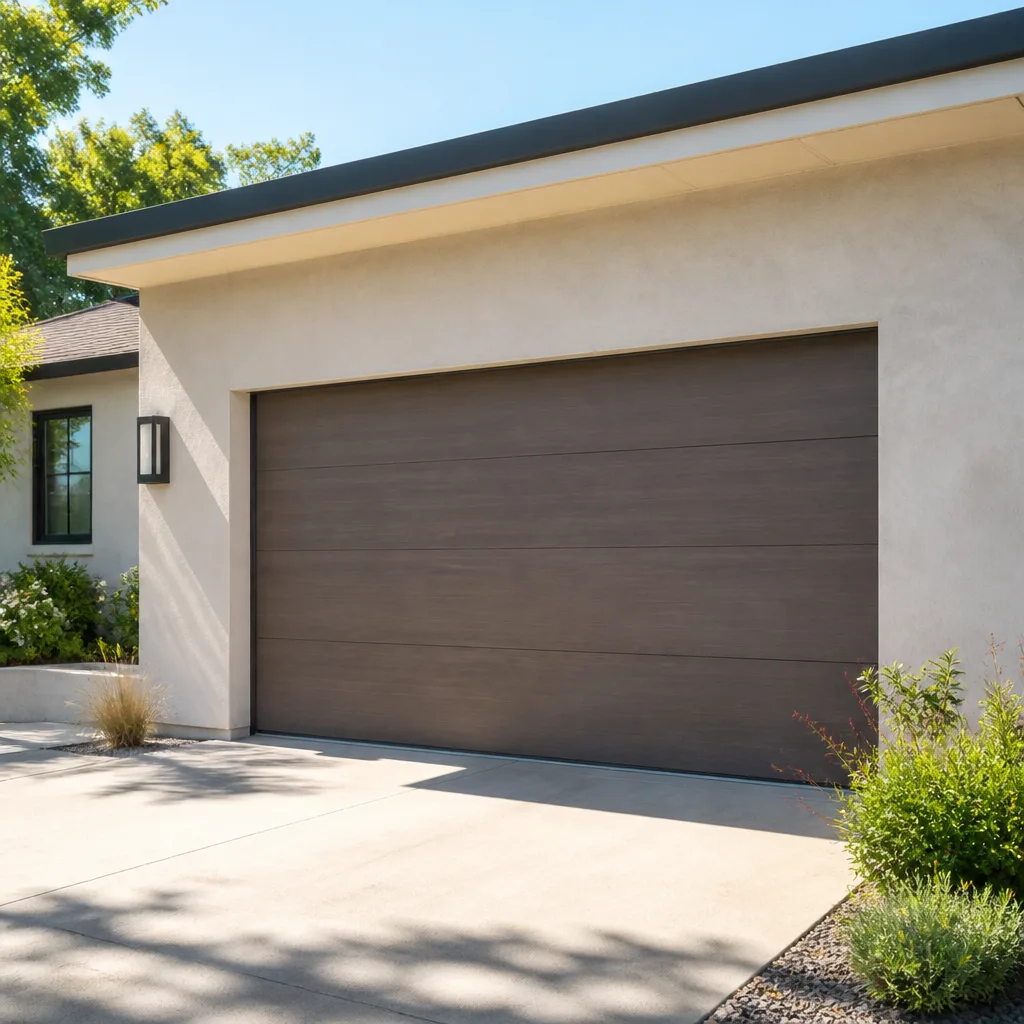 Modern flush
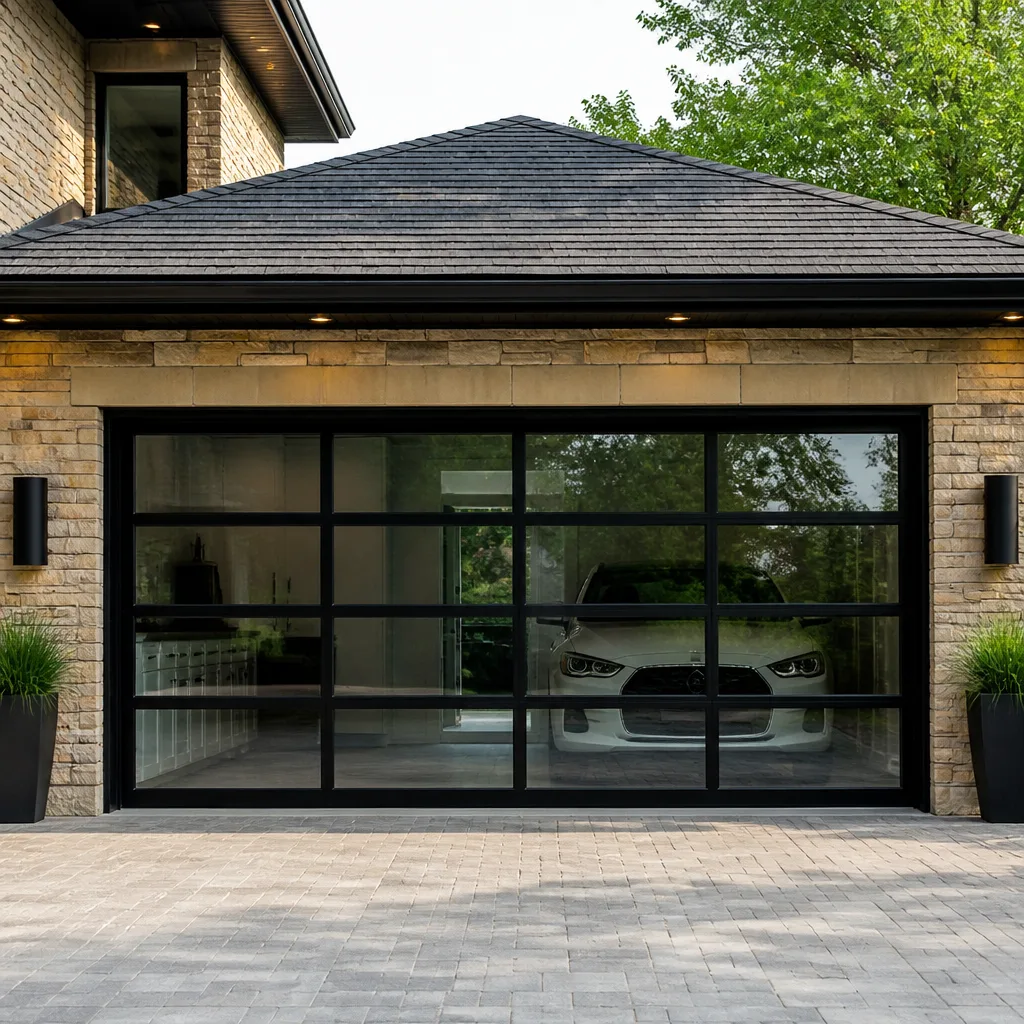 Full-view glass
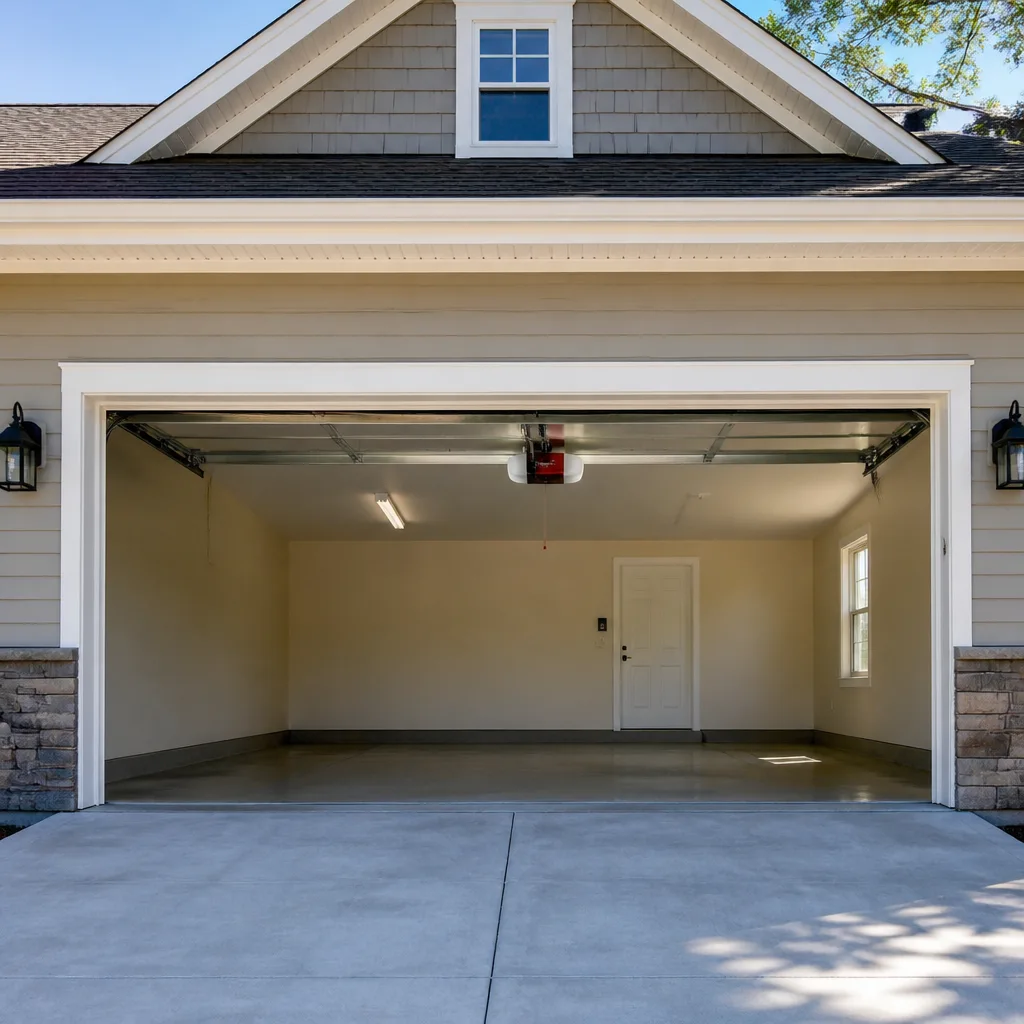 LiftMaster openers
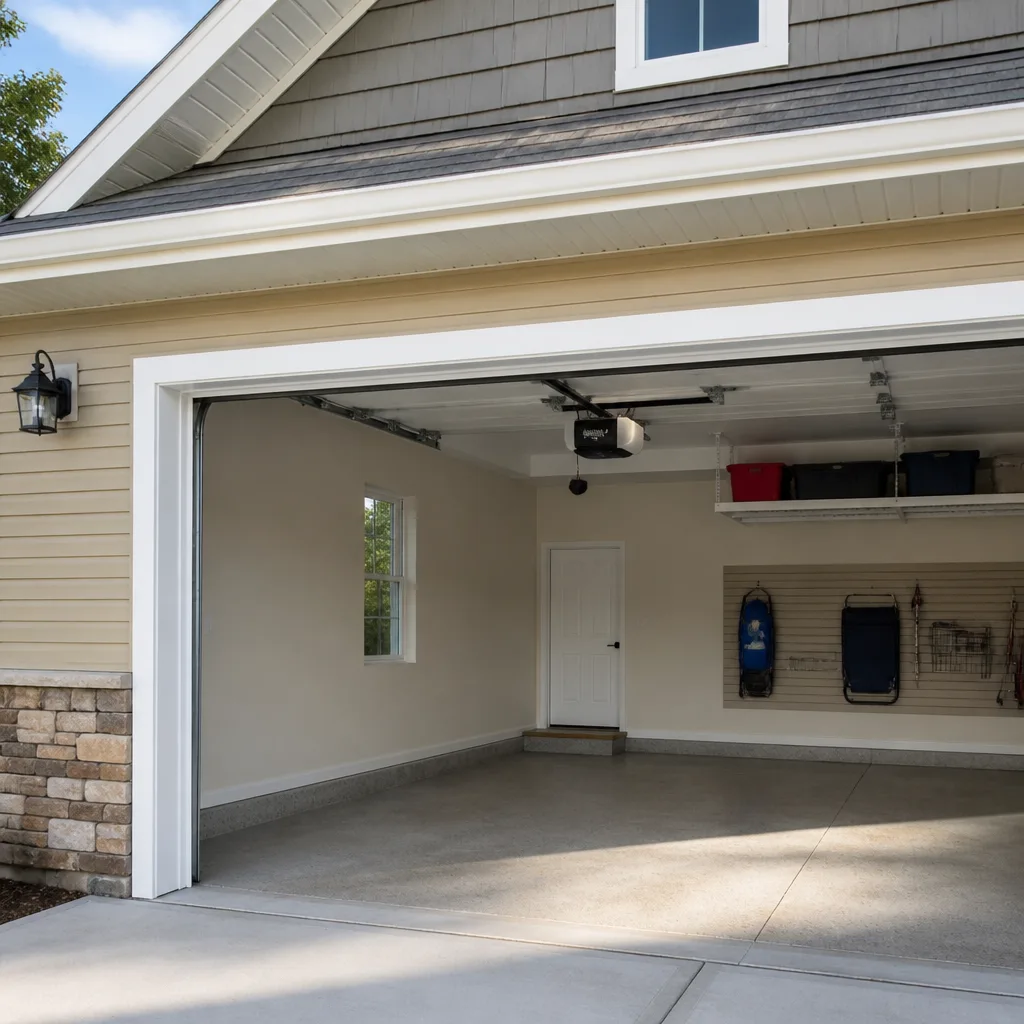 Chamberlain openers
Full 25-point door and opener safety check with every visit - springs, cables, rollers, tracks, and your LiftMaster or Chamberlain opener included
You get a price before we start. It does not change when the pro arrives.
Get your free estimateGarage Door Opener Repair Troubleshooting in Richmond: Common Problems and How to Fix Them
Search “garage door opener won’t close” and you’ll get the same advice on every page: clean the photo eyes and check the sensors. That advice assumes every opener is built the same way, and it’s wrong. The fix for a Genie screw-drive that reverses halfway down is a different job than the fix for a LiftMaster chain-drive doing the exact same thing. A worn carriage on a screw-drive, a slack chain on a chain-drive, a wandering limit switch on an older unit, a failing logic board on a newer one – the symptom looks identical from the driver’s seat, and the culprit sits in a completely different part of the machine. This guide goes symptom by symptom and drive type by drive type, so you look in the right place first. We’ll cover how to read blink codes on the major brands, which repairs you can safely handle yourself, and the warning signs that the opener is fine and the door is the real problem. Richmond homeowners, this one is written with your climate and your housing stock in mind.
Quick Answer
Most garage door opener problems in Richmond come down to one of five causes: a misaligned or obstructed photo-eye, a stripped or worn drive gear, a limit or force setting that needs adjustment, a failing logic board, or a mechanical problem in the door itself that the opener is straining against. The fastest way to narrow it down is to match your symptom to your drive type – chain, belt, screw, direct-drive, or jackshaft – before you touch anything. If the door is heavy, binds in the tracks, or one side hangs lower than the other, the opener is usually the messenger, not the problem.
Styles & brands we work with
- Raised-panel steel
- Carriage house
- Modern flush
- Full-view glass
- LiftMaster openers
- Chamberlain openers
Table of Contents
- Symptom Matrix by Drive Type: Where to Look First
- Soft-Limit Error vs. Force-Setting Error vs. Physical Obstruction
- How to Read Blink Codes on Major Brands Without the Manual
- Safe DIY Fixes vs. Fixes That Can Void Your Warranty
- Red Flags That the Door Is the Real Problem, Not the Opener
- How Richmond Weather and Housing Shape Opener Problems
- Repair or Replace? Judging an Opener Honestly
- Keeping Your Opener Out of the Repair Queue
Symptom Matrix by Drive Type: Where to Look First
The single most useful thing you can know before you start troubleshooting is what kind of drive your opener uses. Five drive types make up most of what’s installed in Richmond garages, and each one fails in its own characteristic way. Look at the rail that runs from the motor unit to the door header. A chain-drive has a visible metal chain. A belt-drive has a flat reinforced belt, usually quieter. A screw-drive has a threaded steel rod. A direct-drive (also called direct-lift or wall-mount) mounts beside the door with a shaft coupling and no overhead rail at all. A jackshaft opener mounts on the wall next to the torsion bar and turns the bar directly.
- Chain-drive (common on LiftMaster and Chamberlain units): watch for a slack or stretched chain, a stripped sprocket, or a sagging rail. Chain-drives are the most forgiving mechanically but the noisiest, and a chain that jumps the sprocket is a distinct failure mode.
- Belt-drive (also common on LiftMaster and Chamberlain, and on many newer installs): watch for a frayed or split belt, a belt that has slipped off the pulley, or a worn idler. Belt failure tends to be sudden and quiet right before it happens.
- Screw-drive (common on Genie units): watch the carriage – the traveling block that rides the screw. A worn carriage is the most common failure on older screw-drives, and it produces jerky, erratic, or partial travel that looks nothing like a sensor problem.
- Direct-drive: the motor couples directly to the torsion shaft. Watch for a slipping coupler, a stripped shaft collar, or a control board fault. There’s no rail or chain to inspect, so diagnosis leans heavily on the control board and the door’s own balance.
- Jackshaft: watch for a loose set screw on the torsion shaft collar, a slipping belt between motor and shaft, or a wall-control wiring fault. Jackshaft failures often show up as a door that runs only one direction.
Before you go further: does the door run smoothly and stay put when you disconnect the opener (pull the emergency release with the door closed)? If it drops or binds by hand, you have a door problem, not an opener problem. That single test saves more wasted troubleshooting than any other step. If the door moves freely by hand, the opener is fair game for diagnosis.
Soft-Limit Error vs. Force-Setting Error vs. Physical Obstruction
These three failures all present as “the door goes partway and stops” or “the door reverses before it closes,” which is why homeowners (and some technicians) waste time on the wrong component. They are not the same problem, and they don’t have the same fix.
A soft-limit error means the opener’s travel limits are set wrong or have drifted. The motor thinks the door has hit the fully open or fully closed position before it actually has, so it stops early. This often happens after a power outage, a board replacement, or a season of temperature swings. The fix is usually reprogramming the travel limits – a safe homeowner job on most models, and covered in the next section.
A force-setting error means the door is meeting more resistance than the opener’s force setting allows, so the opener stops and reverses for safety. The door might be moving freely by hand and still trip a force error if the setting was knocked down too low, or if a bind only appears under power. Older doors in Richmond’s older housing stock – think the prewar and mid-century homes around the Fan District and Church Hill – tend to develop exactly this kind of intermittent bind as wood frames shift and tracks fall slightly out of plumb.
A physical obstruction means something is actually in the door’s path: a child’s toy under the panel, a bicycle standing in the track zone, a trash bin nudged too close, a warped bottom seal catching on the floor. It’s the easiest of the three to rule out and the most common cause of a door that reverses once and then works fine on the second try.
Order of checks: obstruction first (look and clear), force/reversal second (test with the door disconnected if unsure), limit third (only after you’ve ruled out the first two). Doing these in reverse is how homeowners end up reprogramming a perfectly good opener for an hour.
How to Read Blink Codes on Major Brands Without the Manual
Every major brand uses the same basic idea: an LED on the motor unit or the wall control flashes a pattern, and that pattern tells you what the logic board thinks went wrong. The exact code differs by brand and model, but the family logic is consistent enough to get you pointed in the right direction.
LiftMaster and Chamberlain (and their shared-platform cousins)
On most LiftMaster and Chamberlain openers, the diagnostic LED sits on the back panel of the motor unit or beside the learn button. A short repeating flash of 1 up to 6 blinks, then a pause, then repeat, points to a specific fault class:
- 1 blink: usually a wiring or safety-sensor short (a damaged wire along the wall, a stapled-through run, or a failed sensor).
- 2 blinks: usually a physical obstruction or a door that’s binding under load.
- 3-4 blinks: usually a force, limit, or travel-related setting the board can’t reconcile.
- 5-6 blinks: usually a logic board, motor, or safety-sensor communication fault – a job for a technician, not a screwdriver.
Some LiftMaster wall controls also show a code through the wall unit’s LED. If your wall control has a small LED that pulses, count the pulses and note the pattern.
Craftsman
Craftsman openers (many of which share the Chamberlain platform) often have a diagnostic LED on the back of the motor housing. The blink pattern usually maps to the same fault classes – sensor, obstruction, limit, board – even though the numbers may shift. When in doubt, count the blinks and write them down before you call anyone, because a technician will usually ask for exactly that.
Genie
Genie’s diagnostic LED is typically on the motor cover or the rear panel. Older Genie units sometimes show codes through a set of indicator lamps on the wall console rather than the motor head. Screw-drive Genies in particular will often show a limit or force code when the real culprit is a worn carriage – the board is reporting strain it can feel but can’t attribute. See the section below for that scenario.
Reading the codes without a manual
- Unplug the opener, wait 10-15 seconds, plug it back in – this resets the board and clears transient faults.
- Run the door in each direction once and watch the LED. Count the pattern until it stabilizes.
- Write the pattern down exactly as you see it (e.g., “3 blink, pause, 3 blink”).
- Recall what changed recently: a power surge, a storm, a board replacement, a new wall control, or a door service.
- Match the pattern to the fault class above, then apply the right fix for your drive type. If you’re unsure, call us at (844) 834-1312 and describe the pattern – we can usually point you in the right direction quickly.
Safe DIY Fixes vs. Fixes That Can Void Your Warranty
Not every repair is a technician job, and not every tutorial online is honest about which side of the line it sits on. Here’s our straight assessment, from the sorts of calls we take every week.
Genuinely safe DIY tasks
- Photo-eye realignment. Modern openers use an invisible beam between two sensors near the floor. If the small LED on either sensor isn’t steadily lit, wipe the lens with a soft cloth and gently adjust its aim until the light settles. If the LED flickers with the door in motion, suspect a loose bracket or a wire pinched by a track.
- Remote reprogramming. Pairing a new or replacement remote to your opener is a homeowner job on all the major brands – LiftMaster, Chamberlain, Genie, and Craftsman all have a simple “learn” process documented in the manual, and most wall controls walk you through it.
- Travel limit adjustment. If you know your opener’s model number and the limit-adjustment procedure, fine-tuning travel – especially after a board replacement – is safe on most units. Make small changes, test after each one, and stop if the door starts to bind.
- Clearing obstructions and clearing debris. Sounds trivial. It’s the cause of more service calls than any other single thing.
- Battery replacement in remotes, wall controls, and safety sensors where those are battery-fed (not all are).
Jobs that should not be DIY
- Spring, cable, and torsion system work. These are the high-tension components in a garage door system, and they can cause serious injury when handled without the right training, tools, and technique. A trained professional should handle them. There’s no scenario where a homeowner should be under a loaded torsion spring.
- Force setting changes to “fix” a reversal. Raising the force limit to stop a reversal masks the real problem – the door is binding – and defeats a safety feature.
- Logic board, motor, or capacitor replacement on newer openers. There are both electrical risks and warranty implications – opening the housing on a unit still under warranty can void that warranty. We see this most often on newer belt-drives and on direct-drive units where the board is sealed.
- Anything that requires disconnecting the opener from the rail on a jackshaft or direct-drive unit. The torsion shaft can be under load even with the opener off.
- Photo-eye wiring replacement when the wire is stapled or run inside a wall. There are safer ways to reroute it, but they depend on the layout.
When in doubt, the safe call is the right call. We’re happy to talk through a symptom first so you know whether you’re facing a five-minute fix or a job that needs a technician.
Red Flags That the Door Is the Real Problem, Not the Opener
Here’s the pattern we see more than any other: a homeowner is convinced the opener is failing, and it turns out the door itself is the problem – broken spring, stretched cable, worn rollers, bent track, or a panel out of alignment. The opener is doing exactly what it’s supposed to do: it’s pushing a door that shouldn’t be that hard to push. Replacing the opener in that situation just puts a new motor on the same bad door, and the failure repeats.
Test first. Disconnect the door with the emergency release (door closed, then pull the handle). Lift the door by hand about halfway. A balanced door stays roughly where you leave it. An unbalanced door drops on its own, feels much heavier in one direction, or binds at a specific point in its travel. Now look at the door itself:
- Does the door hang evenly at the bottom, or is one side visibly lower?
- Are any of the rollers visibly flat-spotted, cracked, or off their track?
- Are the tracks straight and plumb, or bowed out, kinked, or loose at the bracket?
- Are any of the hinges loose, worn through, or squeaking loudly under load?
- Is there a visible gap or sag in the panels that wasn’t there a season ago?
- Does the door produce a grinding, popping, or banging sound in one specific spot of its travel?
Any yes above means the door is worth a look before the opener is. Richmond’s older homes – particularly the brick and wood-frame garages around neighborhoods like Ginter Park and Bellevue – are prone to settling and frame shift that puts tracks slightly out of alignment over the years. That misalignment shows up as an opener “problem” that isn’t one. If you’re not sure which side of the line you’re on, a garage door repair inspection will tell you fast, and it’s a lot cheaper than a new opener you didn’t need.
How Richmond Weather and Housing Shape Opener Problems
Richmond’s climate is hard on garage door systems in a specific way. Summer humidity is high, and the swing between a hot, humid July afternoon and a cold winter morning is enough to make wood components move, metal tracks shift, and lubricant that was fine in spring turn tacky by fall. Add the spring pollen load (richer than most homeowners expect) and you get rollers and hinges that gum up slowly over a season, raising the load the opener has to push. An opener that ran quietly in March can start tripping a force error by September without anything having “broken.”
Winter brings its own problem: the freeze-thaw cycle. Water that seeps under the bottom seal during a wet stretch and freezes overnight can leave the bottom panel stuck to the floor the next morning, and the opener will reverse or stall because the door is literally glued down. If that happens, don’t raise the force setting – break the door free by hand and check the seal and the floor for standing water. A warped or worn bottom seal is often the hidden cause of a winter “opener failure.”
Richmond housing matters as much as Richmond weather. The city has a deep inventory of homes from the 1920s through the 1970s, many with detached or semi-detached garages that have settled over decades. A settled garage frame means the door’s tracks may be slightly out of plumb even when the opener is brand-new. In newer construction in the outer neighborhoods, we more often see builder-grade openers hitting the end of their service life within roughly a decade, with logic board and drive failures being the common exit points.
None of this is a reason to panic. It’s a reason to know what your specific setup is doing before you assume the worst. If you want a technician to look, our garage door opener repair team covers the full system – door and opener together – so you’re not left guessing which half is the problem.
Repair or Replace? Judging an Opener Honestly
Openers are repairable machines, and the honest answer for most Richmond homeowners is “repair” more often than “replace.” But there are real thresholds where replacement is the smarter money. Here’s the rough framework we use.
Lean toward repair when:
- The opener is under roughly a decade old and the failure is mechanical (limit, force, drive, photo-eye, remote).
- The motor runs smoothly and the failure is one discrete part – a carriage, a coupler, a belt, a sprocket.
- The door itself is healthy and balanced.
- The unit has features you rely on (battery backup, smart-home control, quiet operation) that you’d want to keep.
Lean toward replacement when:
- The unit is well past the typical service life and the logic board is failing along with the motor.
- You’ve had two or more repairs in the last few years on the same unit – the parts are telling you the machine is at the end of its run.
- You’re considering an opener upgrade anyway (quieter belt-drive, jackshaft for a high-lift door, direct-drive for a wall-clearance situation).
- You’re on an opener from a brand and era where parts are becoming hard to source.
- The current unit lacks safety features (photo-eye reversal, force limiting) that modern code and good sense both call for.
If a technician quotes a repair that costs roughly half the price of a new opener, ask the honest question: how many more years will it realistically give you? A straightforward answer beats an upsell every time. We give a written estimate before any work starts, so the numbers are on paper, not in the air. If you want a second opinion before you commit to either path, our Stallion Garage Door Service team is glad to help you weigh it.
Keeping Your Opener Out of the Repair Queue
Most opener repairs we see aren’t the result of one big failure. They’re the result of small maintenance that didn’t happen, compounded over a year or two. Here’s what actually helps, in priority order.
- Test the reverse feature every month or two. Lay a roll of paper towels (or any soft object roughly 2 inches tall) on the floor in the door’s path and close the door. It should reverse on contact. If it doesn’t, stop using the door and book a look.
- Clean the photo-eye lenses seasonally. A soft dry cloth, twice a year, plus a check that both LEDs are solid. It’s a two-minute job.
- Lubricate the door, not the opener. A garage door lubricant on the hinges, rollers, and torsion springs (never WD-40 as a garage door lubricant) reduces the load the opener has to push. Do this once a year, ideally before summer.
- Check and tighten the track hardware. The L-brackets and bolts holding the tracks to the frame loosen over time, especially in older Richmond garages. Snug them, don’t overtighten.
- Watch the door by hand once a season. Disconnect it and lift it. If it feels heavier or binds at a point it didn’t before, that’s a door problem forming, and early is the cheapest time to fix it.
- Keep the garage floor and track zone clear. Toy, broom, bin, bag of mulch – the number one cause of “it worked yesterday” calls.
- Address small symptoms early. A door that occasionally reverses, a remote that needs two presses, a light that flickers when the motor runs – these are cheap fixes while they’re small and more expensive once they cascade.
The brands we work on day in and day out – LiftMaster, Chamberlain, Genie, Craftsman, and the rest of our eight-brand range – all benefit from the same routine care. None of them are fragile. They just need to not be ignored for five years straight.
Common Mistakes to Avoid
- Raising the force setting to stop a reversal. The reversal is a safety feature doing its job. If the door reverses, find the bind – don’t disable the safety feature that’s trying to tell you about it.
- Assuming every “won’t close” problem is a photo-eye. On a Genie screw-drive, a worn carriage is more often the culprit than the sensor. On an older LiftMaster chain-drive, a slack chain or a stripped sprocket shows up in the same clothing. Match the symptom to your drive type before you touch the sensor.
- Replacing the opener before checking the door. If the door binds, sags, or fails to balance by hand, a new opener will do the same thing the old one did – fail – and you’ll be out for a motor you didn’t need.
- Reprogramming travel limits to “fix” a mechanical bind. The limits aren’t wrong. The door is. Adjusting limits to compensate for a bind puts the opener in a worse place and can leave a gap under the closed door.
- Running the opener when the door is visibly out of alignment. A door with one side hanging lower or a track visibly kinked is a door you should stop operating until it’s looked at. In Richmond’s older housing stock, misaligned tracks and settled frames are common enough that a “new” symptom is often a door problem that finally became audible.
- Skipping the emergency-release test. If the emergency release handle doesn’t work (or the door is stuck to it), you’ve lost your primary manual override. Test it once a season.
- Assuming your brand determines your fix. Brand tells you how the board thinks; drive type tells you how the machine fails. Both matter, and neither alone is enough to diagnose correctly.
See the difference
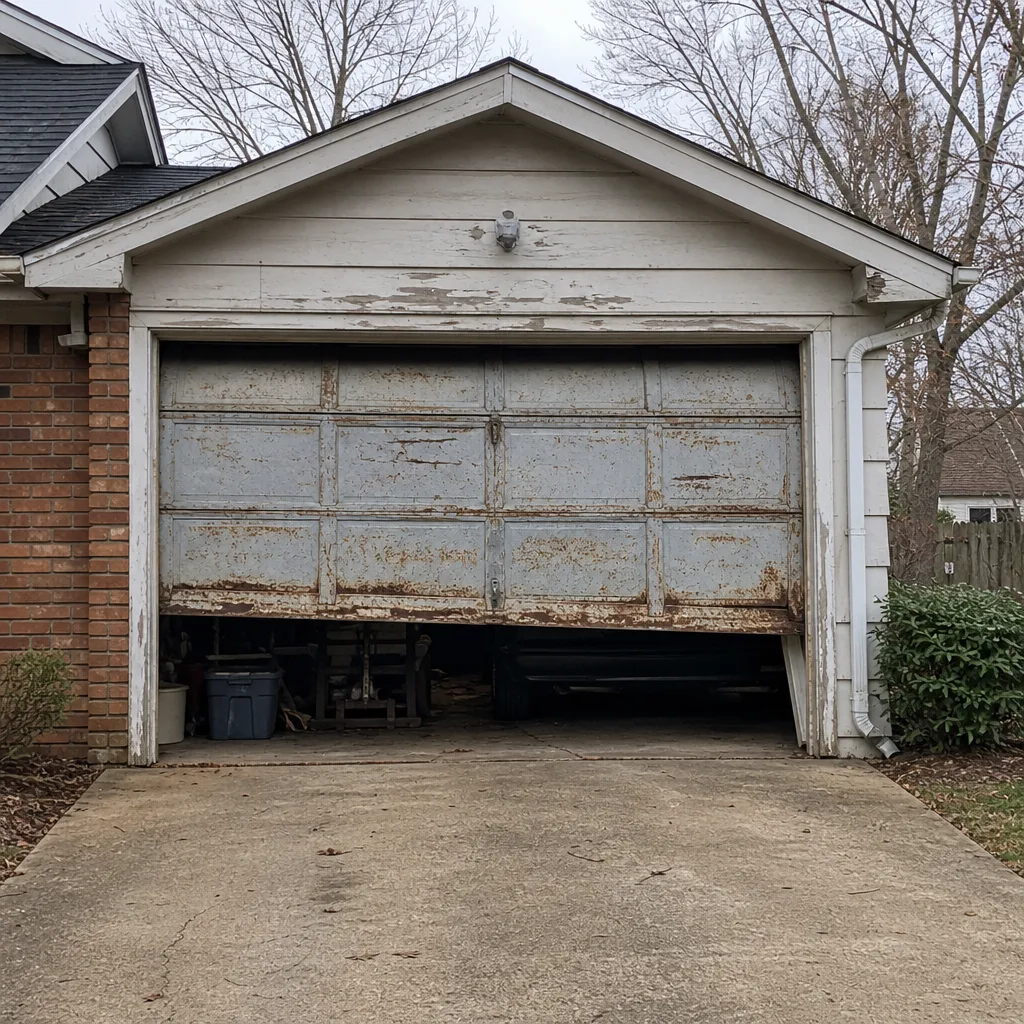 Before
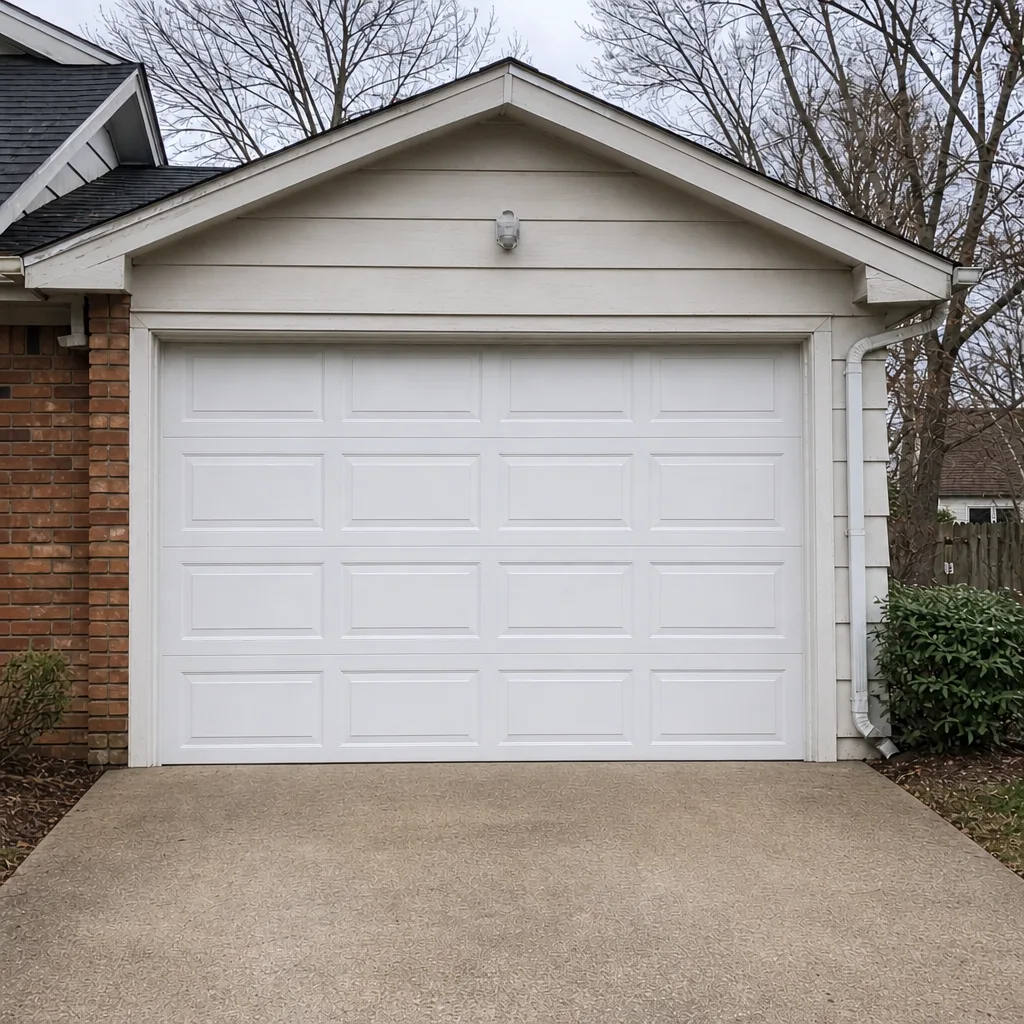 After
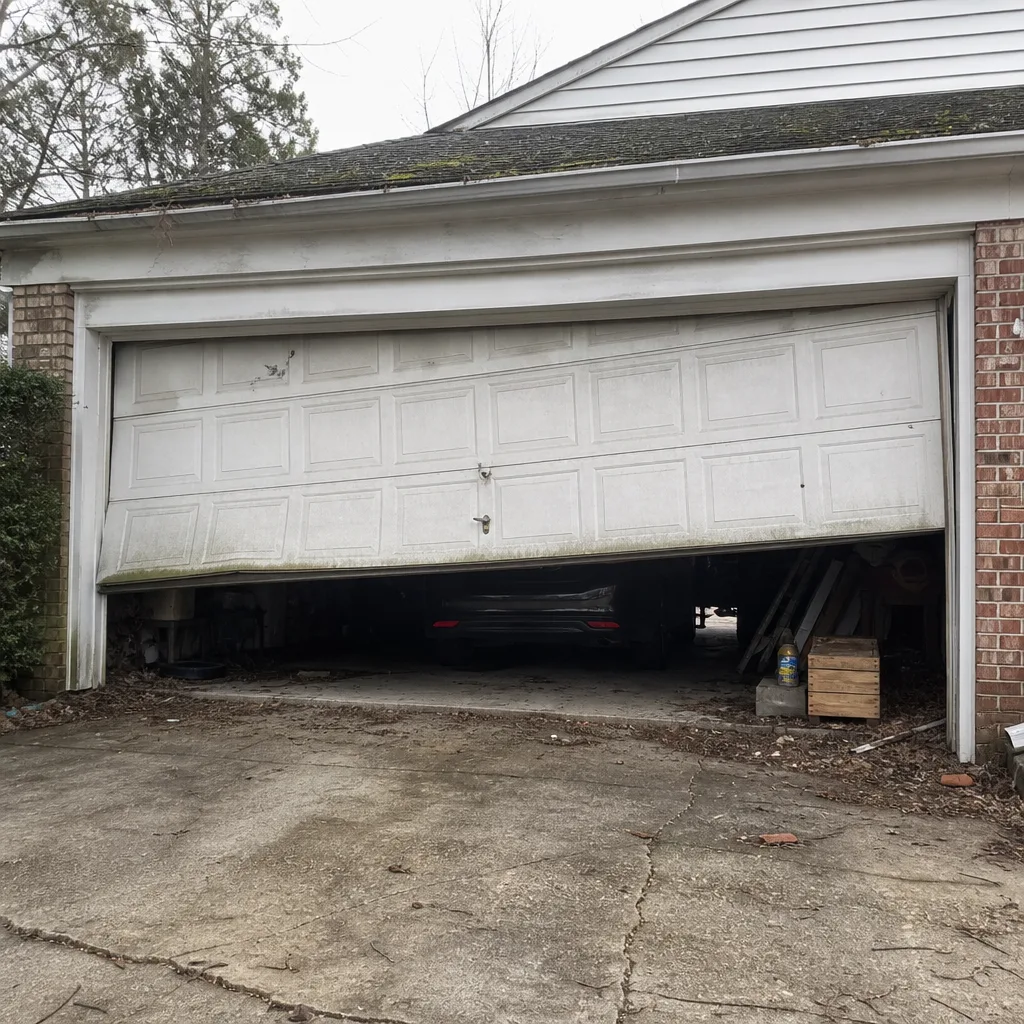 Before
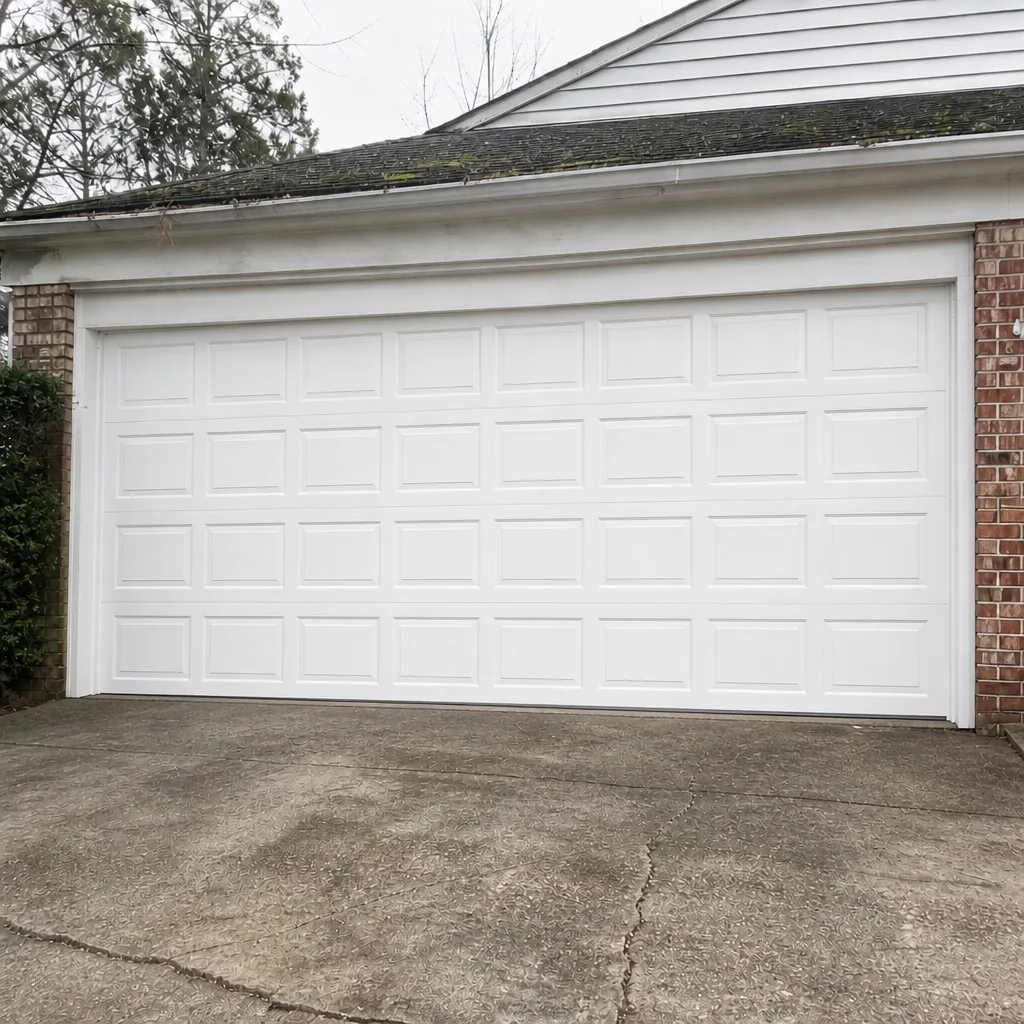 After
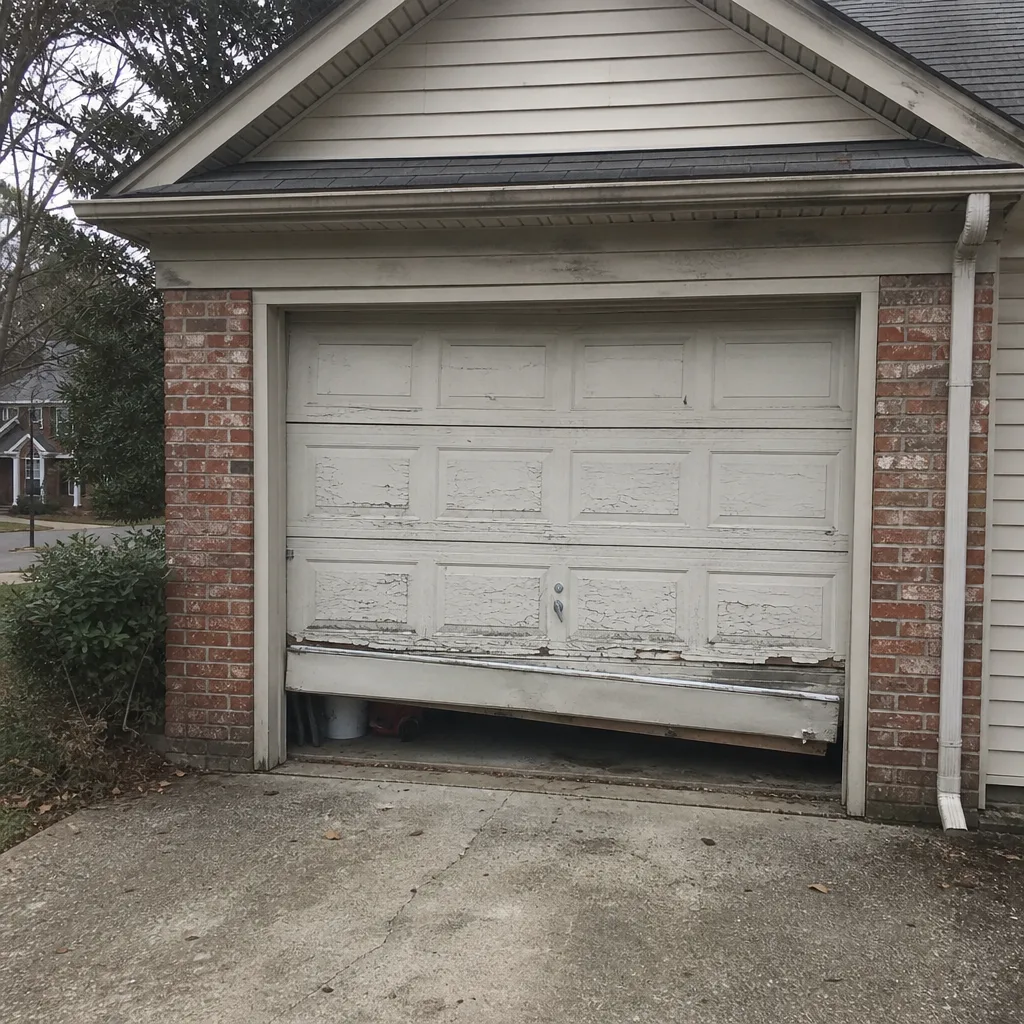 Before
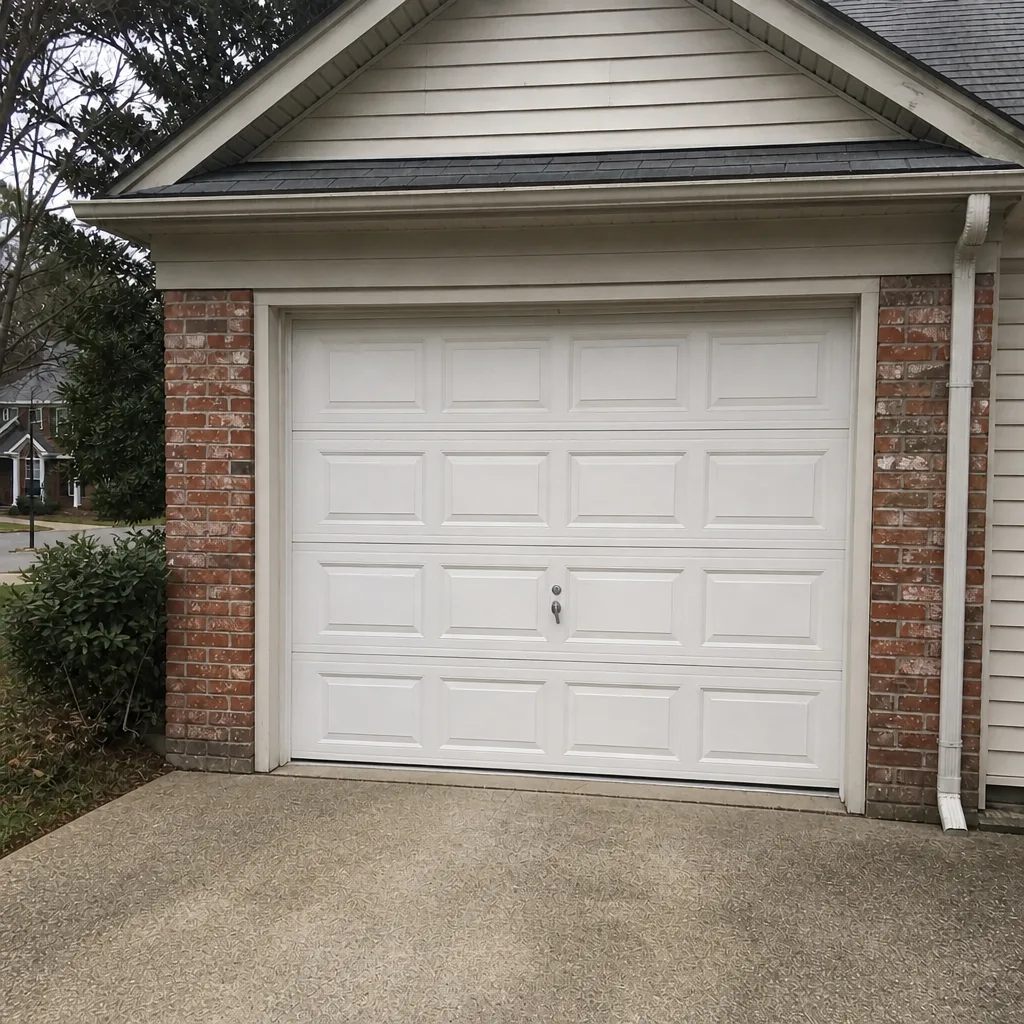 After
When to Call a Professional
Call a specialist when the symptom is a physical door problem rather than a control problem – a spring that snaps, a door that hangs unevenly, a cable that runs slack, a track that’s visibly bent. Call when the opener is under 10 years old and shows a logic board, motor, or capacitor fault; those repairs are worth doing, but the diagnosis has to be correct before the part is replaced. Call when you’ve cleared the obstruction, cleaned the photo eyes, and checked the balance, and the door still won’t close cleanly – the remaining possibilities are ones where a wrong guess costs real money. And call when you’re not sure which drive type you’re looking at or how to read the blink code; describing the pattern to a technician usually takes a minute. If you want a trained eye on it, Stallion Garage Door Service offers free estimates in Richmond – call (844) 834-1312. Our technicians have up to 13 years of experience across the major brands, and the written estimate sets the price before any work begins.
Frequently Asked Questions
Usually a mechanical break between the motor and the door: a stripped drive gear, a broken carriage, a snapped belt, a slipped sprocket, or a coupler that’s failed on a direct-drive or jackshaft unit. On a screw-drive Genie, the most common cause is a worn carriage – the motor runs, the screw turns, and the carriage no longer grips. On a belt or chain, it’s more often the belt or chain itself. Unplug the opener, pull the emergency release, try the door by hand, and look at the rail for the disconnect. If you can’t see it, describe the symptom to a technician and they’ll usually know what to expect before they arrive.
Most likely one of three things, in this order: an obstruction in the photo-eye beam, a door that’s binding somewhere in the last few inches of travel, or a force setting that’s been knocked low. Rule out the obstruction by looking – a broom, bin, or toy under the panel is the number one cause. Then run the door by hand to check for a bind. Then check the photo-eye LEDs. Only after those three should you look at travel and force settings. If none of those explains it, the logic board is a possibility on newer units. Call (844) 834-1312 if you’d like to talk through the specific symptom with a technician – estimates are free.
Often yes for opener repair and diagnosis. We answer 24/7 and run fast dispatch from 7am to 7pm, Sunday through Friday, so if you call during the day there’s a good chance we can get to you the same day or start a same-day diagnosis. The written estimate comes before any work begins, so you’ll know the price up front. Call (844) 834-1312 and we’ll confirm timing for your address in Richmond.
It shouldn’t, and here we quote the price in writing before any work starts, so what you agreed to is what you pay. If a technician finds something different during the diagnosis – say, a door issue you didn’t know about – they stop and re-quote before proceeding. There’s no scenario where you’re surprised at the invoice. Call (844) 834-1312 for a free estimate.
Yes. Battery backup keeps the opener running during a power outage, but it doesn’t change how the safety reverse function works – the door still needs to reverse on contact. In fact, a battery backup is a good reason to test the reverse feature more often, since the door may run more cycles than you’d otherwise expect if it stays live through an outage. Test it the way you would on any other unit: place a soft object in the door’s path and confirm the door reverses. If it doesn’t, stop using the door and call (844) 834-1312 to book a service call.
It’s a genuinely advanced homeowner job. Two things make it different from swapping a light fixture: the door system carries high tension, and the opener has to be force-set and safety-tested against that door. Opener replacement on a healthy door is doable, but it depends on getting the force settings right – a door that doesn’t reverse properly is dangerous. If the door has a spring, cable, or track problem, a technician should handle it. On the install itself, most homeowners are better off with a professional installation because the safety reverse and force settings are what get rushed. For a free estimate on a new opener or a check of your current one, call (844) 834-1312. Our Richmond team can talk through your specific door and opener combo.
The Bottom Line
Garage door opener troubleshooting in Richmond starts with three questions: what drive type do you have, what’s the door doing by hand, and what is the LED on the motor telling you? Get those three answers and most problems have an obvious path forward – a photo-eye to realign, a limit to reset, a carriage to replace, a force setting that’s masking a door bind. The general-purpose troubleshooting guides online skip all three and go straight to “clean the sensor,” which is why so many homeowners spend an hour on the wrong component. Match the symptom to the machine, test the door before you blame the opener, and read the blink code before you call. When the fix is beyond a safe DIY job, or when the door is the real problem, call (844) 834-1312 for a free estimate.
Written by the team at Stallion Garage Door Service.