
Last updated November 15, 2026
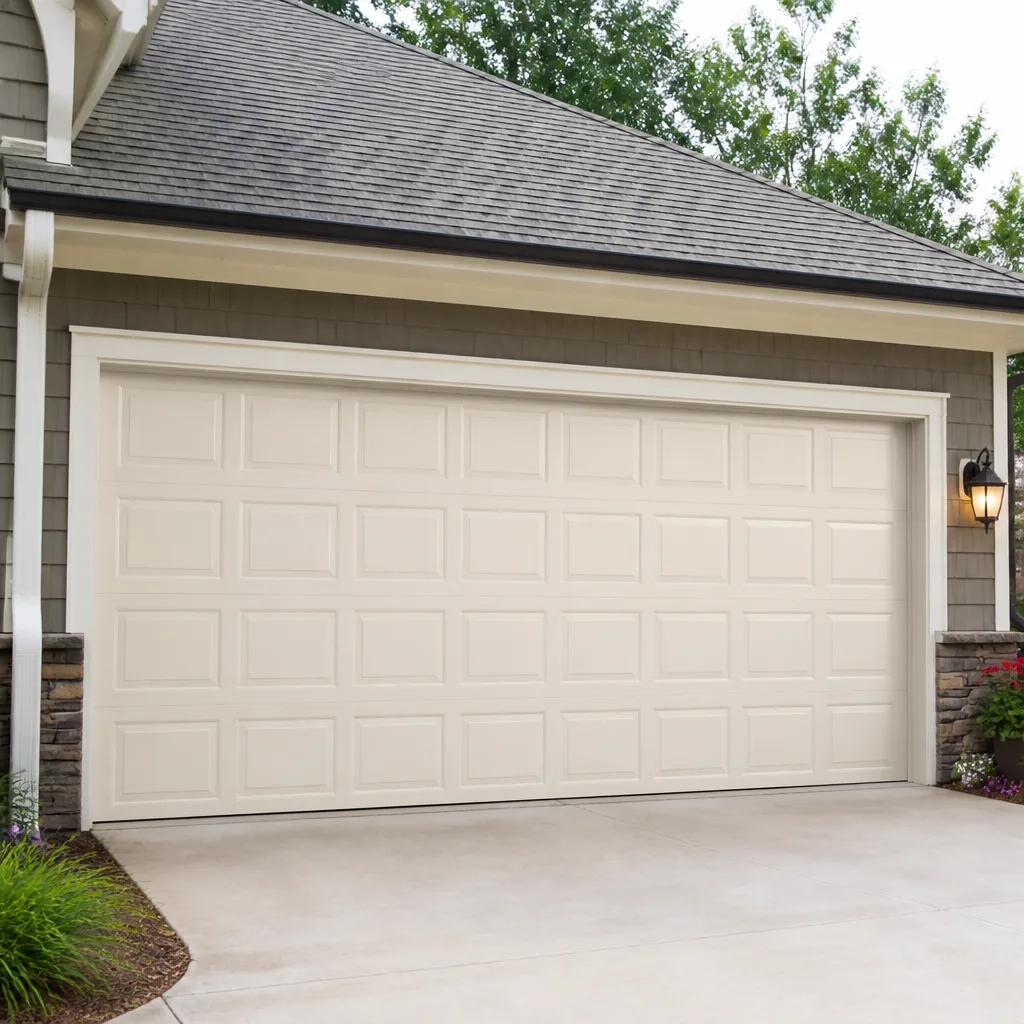 Raised-panel steel
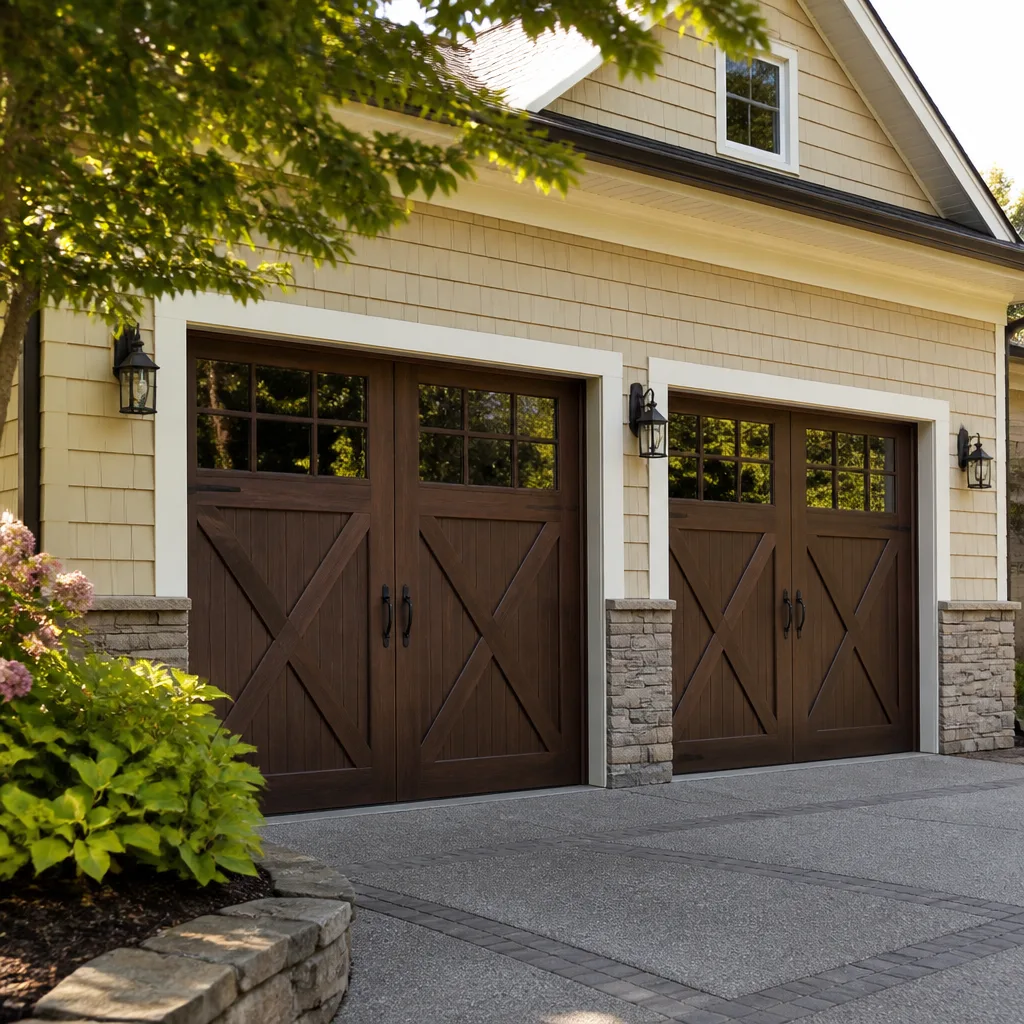 Carriage house
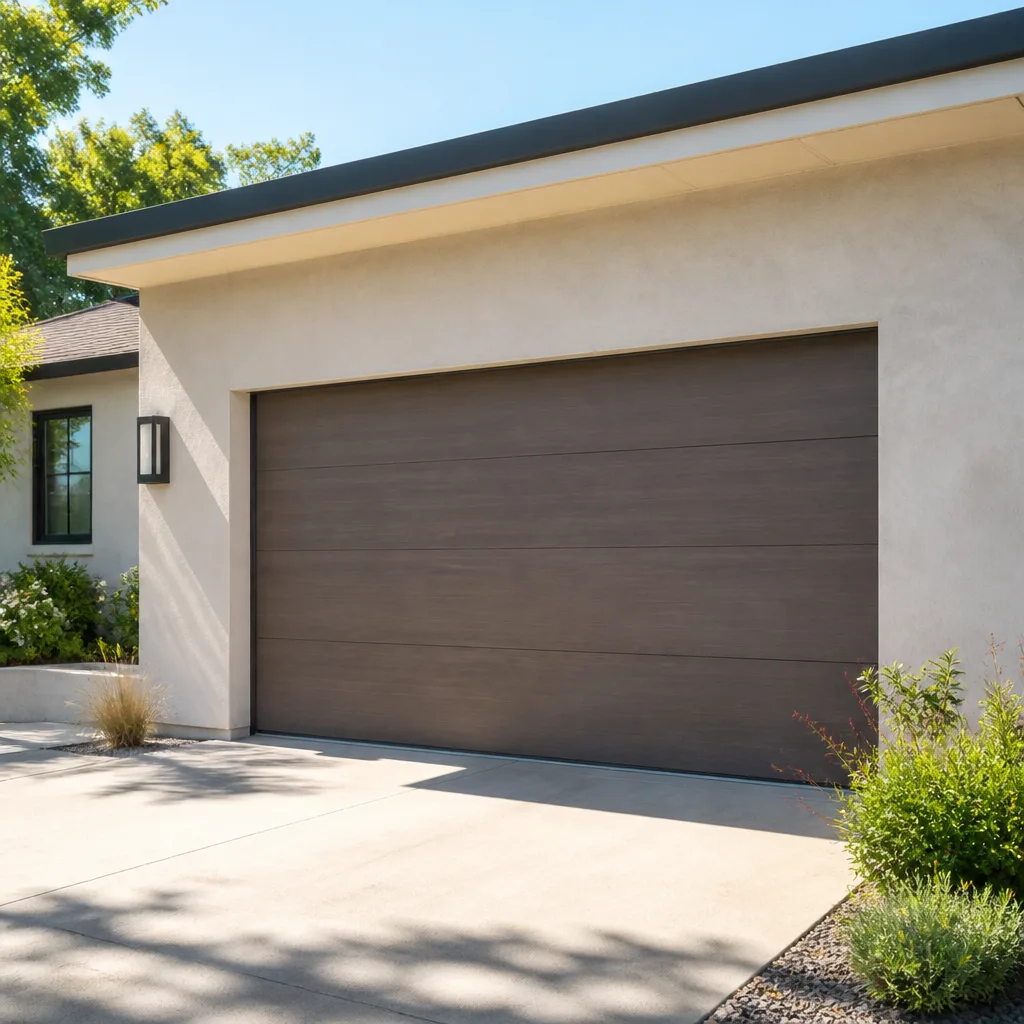 Modern flush
 Full-view glass
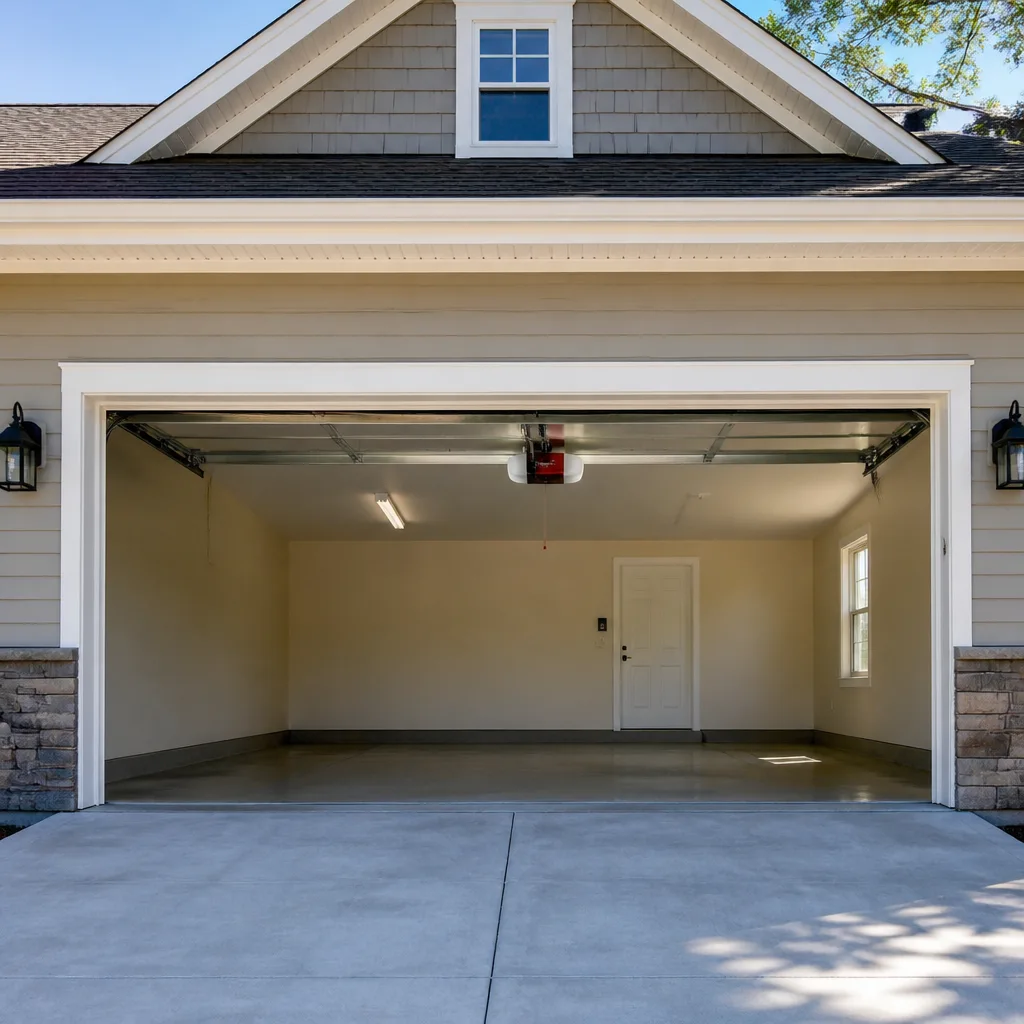 LiftMaster openers
 Chamberlain openers
Full 25-point door and opener safety check with every visit - springs, cables, rollers, tracks, and your LiftMaster or Chamberlain opener included
You get a price before we start. It does not change when the pro arrives.
Get your free estimateGarage Door Opener Repair Maintenance Checklist for Richmond Homeowners
A garage door opener doesn’t warn you before it fails – it just stops working at 7 a.m. on a Tuesday. The specific component that quits first depends heavily on which opener is mounted to your ceiling. A Chamberlain belt drive and a LiftMaster jackshaft wear on completely different schedules, and a Genie screw drive has its own set of failure points. Generic checklists miss this. This guide is organized by opener type and covers the failure patterns we actually see in Richmond, from humidity-swollen logic boards to capacitors that give out after a summer of 95°F afternoons.
Quick Answer
A garage door opener maintenance checklist in Richmond should cover four things: a monthly safety reversal test, a twice-yearly balance and force check, annual lubrication of the chain, screw or belt pathway, and a battery backup check before storm season. Which tasks apply to your opener depends on the drive type. Belt drives need tension and alignment checks, chain drives need lubrication, screw drives need cleaning and re-greasing, and jackshaft openers need a torsion system inspection. If the door fails the safety reversal test or the opener forces the door past its limits, stop using it and call a technician.
Styles & brands we work with
- Raised-panel steel
- Carriage house
- Modern flush
- Full-view glass
- LiftMaster openers
- Chamberlain openers
Table of Contents
- Why Opener Maintenance Matters More in Richmond
- Checklist for Belt Drive Openers
- Checklist for Chain Drive Openers
- Checklist for Screw Drive and Jackshaft Openers
- Safety Reversal and Force Tests: What the Numbers Mean
- Battery Backup: Why Richmond Storm Season Makes It Worth It
- Maintenance vs. Diagnostics: When to Call a Technician
- A Richmond Seasonal Maintenance Calendar
Why Opener Maintenance Matters More in Richmond
Richmond summers push garage interiors past 100°F on a regular basis. The opener motor and logic board sit in that heat, cycling on and off all day. Then January arrives and the same garage drops toward 20°F on a cold night. That 75-degree swing over a few months is what shortens the life of the electronic components inside your opener more than run time does.
Two parts fail first under that kind of temperature stress:
- Capacitors – the start capacitor on an AC motor weakens as it heats and cools repeatedly. A failing capacitor shows up as a motor that hums but won’t lift, or lifts slowly on hot afternoons and works fine in the morning.
- Logic boards – the control board manages travel limits, safety sensors and remote pairing. Solder joints and relays on the board crack under thermal cycling. When that happens, remotes stop pairing intermittently or the door reverses for no apparent reason.
We see more logic board replacements on openers in the Fan District and Museum District than in newer construction, mostly because those garages are older, less insulated and hotter in summer. In Short Pump and Glen Allen, where garages are often attached and better sealed, capacitor failures are more common than board failures. Neither of those is a guarantee, but the pattern shows up repeatedly in our work across Richmond.
The point of a checklist isn’t to prevent every failure. It’s to catch the ones that give you warning, like a loosening chain or a belt that’s slipping, before they turn into a door that won’t open.
Checklist for Belt Drive Openers
Belt drive openers are the quietest option and the most common choice for bedrooms above the garage. Brands like Chamberlain and LiftMaster build most of the belt units we service. A belt drive needs tasks a chain drive doesn’t: belt tension checks, pulley alignment and a look at the belt for glazing or fraying.
Do these checks twice a year – once in spring and once in fall:
- Run the door and listen. A healthy belt drive is nearly silent. Squealing means a dry pulley. A slapping or snapping sound means the belt is too loose and is slapping the rail.
- Check belt tension. With the door closed and the opener disengaged, press down on the belt at the midpoint of the rail. It should deflect slightly but feel firm. A belt that sags or feels floppy needs tensioning.
- Inspect the belt for glazing. Look for a shiny, hardened surface or visible cracks along the ribs. Glazing means the belt is slipping and will fail soon.
- Check pulley alignment. The trolley should run straight down the center of the rail. If it pulls to one side, the front pulley or idler is out of alignment.
- Lubricate the rail lightly. A small amount of white lithium grease on the rail is enough. Belt drives don’t need heavy lubrication, and over-greasing attracts grit.
- Test the safety reversal (see the section below). Belt drives reverse more abruptly than chain drives when they hit an obstruction, so a failed reversal test is more urgent on a belt unit.
Don’t tension a belt by guessing. If you over-tighten it, you’ll wear the motor bearing and shorten the opener’s life. If the tension spec isn’t in your manual, have a technician set it.
Checklist for Chain Drive Openers
Chain drive openers are the workhorses – louder than belt drives, but durable and easy to maintain. Most Craftsman and LiftMaster chain units we service will run for years with routine lubrication. The chain is the part that needs the most attention, and the failure that catches most Richmond homeowners off guard is a chain that jumps the sprocket after months of dry running.
Twice a year, do this:
- Inspect the chain for rust and tight spots. Richmond humidity rusts a chain faster than dry climates. Look for orange-brown discoloration and links that don’t flex freely.
- Lubricate the chain with a garage door lubricant – not WD-40, which is a solvent and will strip the existing grease. White lithium grease or a dedicated chain lube works. Apply a light coat along the whole chain with the door closed.
- Check chain tension. The chain should have about a half-inch of sag at the midpoint. Too tight and it strains the motor; too loose and it can jump the sprocket.
- Inspect the sprocket at the top of the rail. Worn teeth look like shark fins and will need replacement along with the chain.
- Look at the trolley and rail junction. A chain that tightens and loosens as the door moves suggests a bent rail or a loose mounting bracket, not a chain problem.
- Test the safety reversal and force limits each time you lubricate.
If your chain is over five years old and has never been lubricated, expect to replace it. A new chain is a minor repair compared to a burned-out motor, and it’s the fix that gets a chain drive back to quiet operation.
Checklist for Screw Drive and Jackshaft Openers
Screw drive openers (common on Genie units) and jackshaft openers (like the LiftMaster wall-mount models) are the two other major opener types in Richmond garages. They fail in different ways and need different checks.
Screw Drive
A screw drive uses a threaded steel rod instead of a chain or belt. It’s durable and relatively maintenance-light, but the screw itself needs periodic re-greasing or it will wear.
- Inspect the screw for dry patches. A properly greased screw has a glossy film. If it looks dry or chalky, it’s time to re-grease.
- Clean before greasing. Wipe the screw down with a rag to remove grit, then apply a light coat of white lithium grease. Grit trapped in old grease grinds the nut.
- Listen for clicking or grinding. That usually means the screw nut is worn. A worn nut can fail suddenly and drop the door under tension.
- Check travel limits after any adjustment. Screw drives tend to drift out of adjustment as the nut wears.
Jackshaft
A jackshaft opener mounts on the wall beside the door and turns the torsion bar directly. There’s no chain or belt to the rail, which frees up ceiling space and is why they’re popular in Richmond garages with low ceilings or storage above the door.
- Inspect the torsion springs and cables. The jackshaft opener relies on the torsion system, so any spring or cable problem is a safety issue. These components are under high tension – do not attempt to adjust them yourself. Call a technician.
- Check the wall mount bolts. Vibration loosens wall-mounted openers over time. Tighten any bolts that have worked loose.
- Test the door balance with the opener disengaged. A balanced door stays at any point you leave it. An unbalanced door strains the jackshaft motor.
- Check the manual release. Jackshaft openers use a different release mechanism than ceiling-mount units. Make sure the release cord is accessible and functional.
Wayne Dalton and Amarr doors with jackshaft hardware sometimes need specific adjustments the factory doesn’t call out in the homeowner manual. If your jackshaft opener is paired with one of those doors, it’s worth having a technician look at the whole system once a year, not just the opener.
Safety Reversal and Force Tests: What the Numbers Mean
These two tests are the most important part of any opener maintenance checklist, and they’re the ones most homeowners skip. A failed safety reversal means the door won’t stop if something – or someone – is under it. A failed force test means the opener is pushing harder than it should to move the door.
The Safety Reversal Test
- Place a 2×4 board flat on the floor in the center of the door opening.
- Close the door using the wall control. The door should contact the board and reverse within about two seconds.
- If the door doesn’t reverse, stop using the opener until it’s fixed. This is a real safety issue, not a nuisance.
The two photo-eye sensors at the bottom of the track are a separate safety system. They should stop the door before it contacts anything. Test them by passing an object through the beam while the door is closing. If the door keeps moving, the sensors are misaligned or failed.
The Force Test
The opener’s force limit is set by a dial or a setting in the control panel. If the limit is too high, the door won’t reverse on an obstruction. Too low, and the door will reverse randomly on its way down.
- With the door closed and disengaged from the opener, lift the door by hand to the halfway point. A balanced door should stay there.
- If the door falls or rises on its own, the springs are out of balance and the force setting isn’t the problem – the door is. Call a technician.
- If the door is balanced, the force setting should be adjusted only enough that the door travels smoothly. If the door needs more force than the manual suggests, the opener or the door has a mechanical problem.
What a failed force test actually means: the opener is compensating for a door that’s binding, a spring that’s losing tension, or a bent track. Adjusting the force setting to “fix” the test hides the real problem and burns out the motor. The correct response is to find out why the door is heavy.
Battery Backup: Why Richmond Storm Season Makes It Worth It
Battery backup is a feature on many newer openers, but it isn’t standard on all of them. LiftMaster and Chamberlain build it into most of their current models. Genie offers it on several lines. Craftsman and Raynor openers vary by model year. If your opener doesn’t have an internal battery, there are add-on backup units that can be retrofitted.
Richmond’s summer thunderstorms regularly knock out power across the region, and when a summer storm knocks out power to your block, an opener without backup means a door you can’t open from the car. That matters if you’re trying to get to work in the morning, if you have a car trapped inside, or if you need to get a vehicle out during an outage.
Here’s what to check:
- Locate the battery in your opener. On most units it’s behind the light lens cover or in a compartment on the top of the housing.
- Test it once a year before storm season – usually late spring. Unplug the opener from the wall outlet and run the door. If the door opens on battery power, the battery is working. If it doesn’t, the battery either needs charging or replacement.
- Replace the battery on schedule. Most backup batteries last a few years. If yours is older than that and has never been replaced, plan on it.
- Confirm what the battery powers. Some backup units only run the door for a limited number of cycles and only at low speed. That’s normal – it’s meant to get you in and out, not to run the door all day.
If you’re considering a new opener and want reliable backup, ask about it before installation. Retrofitting a backup unit later costs more than choosing an opener with it built in.
Maintenance vs. Diagnostics: When to Call a Technician
This is where most checklists fall short. A checklist is a routine – it catches predictable wear. Diagnostics is what you need when something has already gone wrong. The two aren’t the same, and knowing the difference saves time and money.
A checklist is the right tool when:
- The door operates normally but you want to catch wear before it fails
- You’re doing seasonal maintenance before summer heat or winter cold
- You’ve just moved into a home and don’t know the opener’s history
- You’re preparing for an inspection or a sale
A technician is the right call when:
- The door reverses for no apparent reason, or fails the safety reversal test
- The motor hums but won’t lift the door (failing capacitor, or a spring problem)
- The door travels unevenly, pauses, or reverses midway
- The opener forces the door past its limits
- You hear grinding, clicking or a popping sound from the opener housing
- Remote range has dropped significantly and fresh batteries don’t fix it
- The door is heavy to lift by hand – that’s a spring or balance problem, not an opener problem
A checklist tells you what to check. Diagnostics tells you what’s wrong and what to do about it. When a checklist item fails, the checklist has done its job. The next step is a trained eye and, for spring and cable issues, a trained professional – those components are under high tension and can cause serious injury if handled without the right tools and training.
A Richmond Seasonal Maintenance Calendar
Split your opener maintenance across the year so no task gets skipped. Here’s what we recommend in Richmond:
Spring (March through May)
- Test the battery backup before storm season
- Lubricate the chain, screw or belt rail
- Test safety reversal and force limits
- Clear debris from the track and clean the photo-eye lenses
Summer (June through August)
- Listen for the opener working harder than usual in the heat – a struggle here can mean a weakening capacitor
- Check the logic board area for signs of overheating (discoloration, a burning smell)
- Confirm the door balance with the opener disengaged
Fall (September through November)
- Lubricate the moving parts again
- Test the safety reversal and force limits a second time
- Inspect the torsion springs, cables, and rollers (visual check only – do not adjust)
- Tighten the wall mount bolts and any loose hardware
Winter (December through February)
- Re-test the opener in cold weather, when the motor has to work harder
- Check the weather seal at the bottom of the door
- Confirm the manual release works with the door closed
Winter is also a smart time to have a technician look at the whole system – the door, springs, cables, and opener together. Cold-weather strain exposes problems that warm weather hides, and catching them before a failure is cheaper than a repair in the middle of a cold snap.
Common Mistakes to Avoid
- Using WD-40 on the opener chain or screw. WD-40 strips the existing grease and leaves the chain drier than when you started. Use garage door lubricant or white lithium grease instead.
- Adjusting the force limit to fix a heavy door. If the door needs more force to move, the door is the problem, not the force setting. Increasing force to compensate for a weakening spring or a binding track hides the issue and burns out the opener.
- Skipping the safety reversal test. This is the single most important maintenance item on the checklist, and it takes about a minute to do. A failed reversal test is a real safety hazard.
- Tensioning a belt by feel. Over-tensioning a belt shortens the motor bearing life. If the manual doesn’t give a spec, have a technician set it.
- Ignoring a rusted chain in Richmond humidity. A rusted chain binds and jumps. Replace it before it fails, not after.
- Forgetting the battery backup test before storm season. A battery that’s never been tested may not work when you need it. Test it once a year in late spring.
- Adjusting torsion springs or cables yourself. These are under high tension and can cause serious injury. Visual check only – leave the adjustment to a technician.
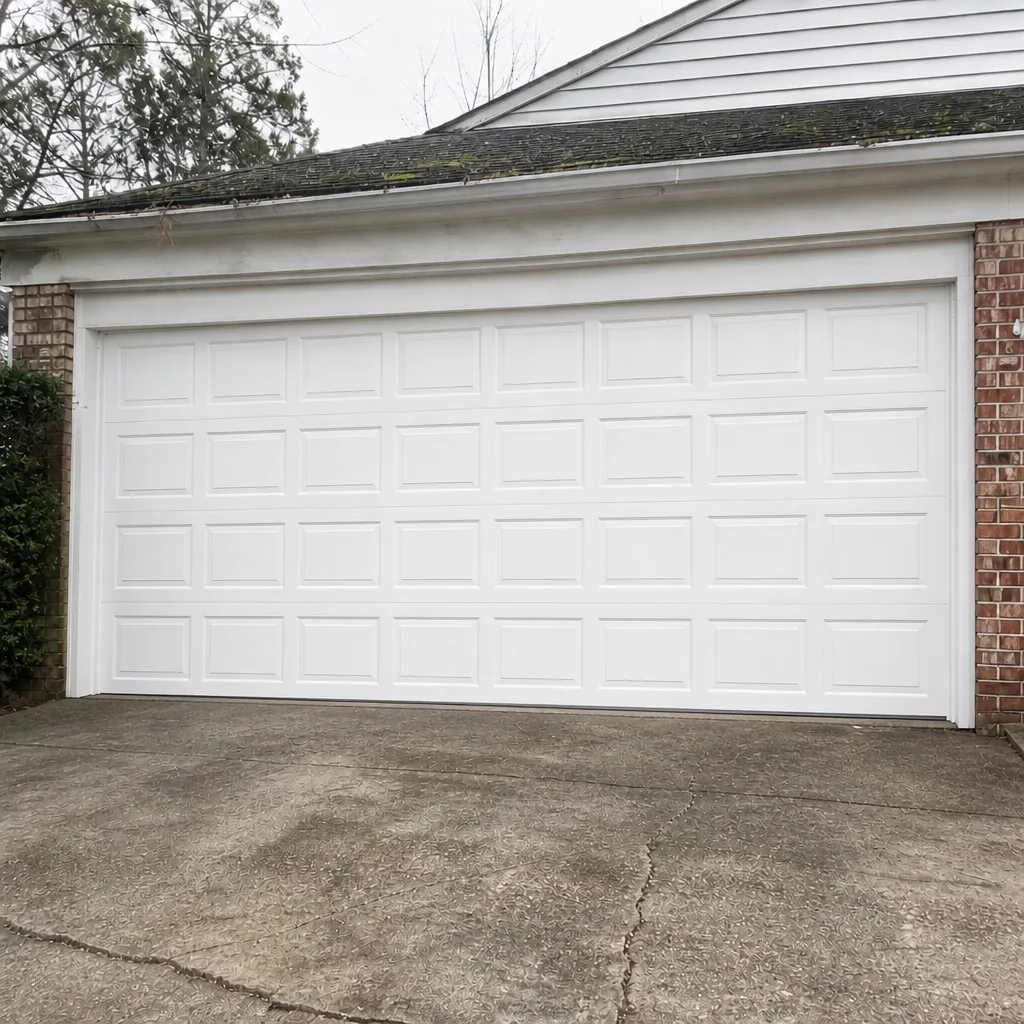
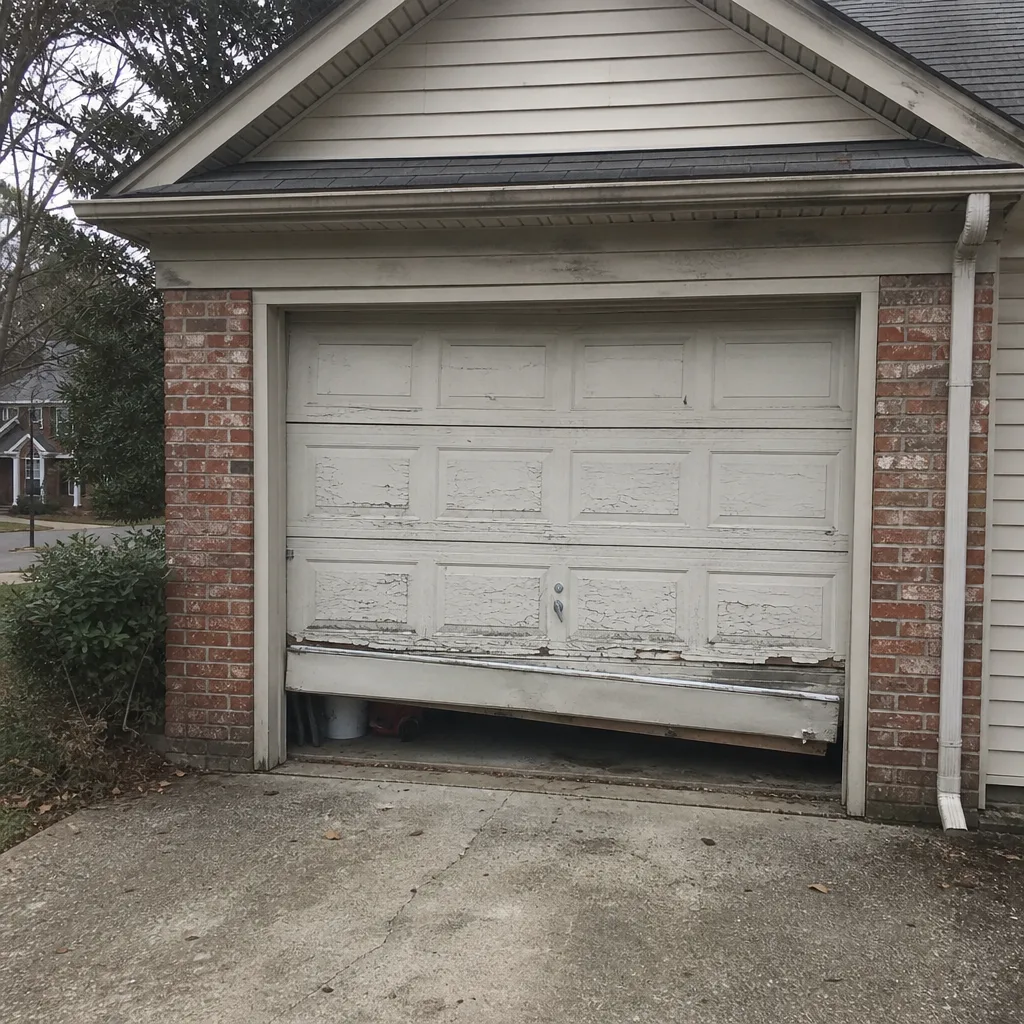
See the difference
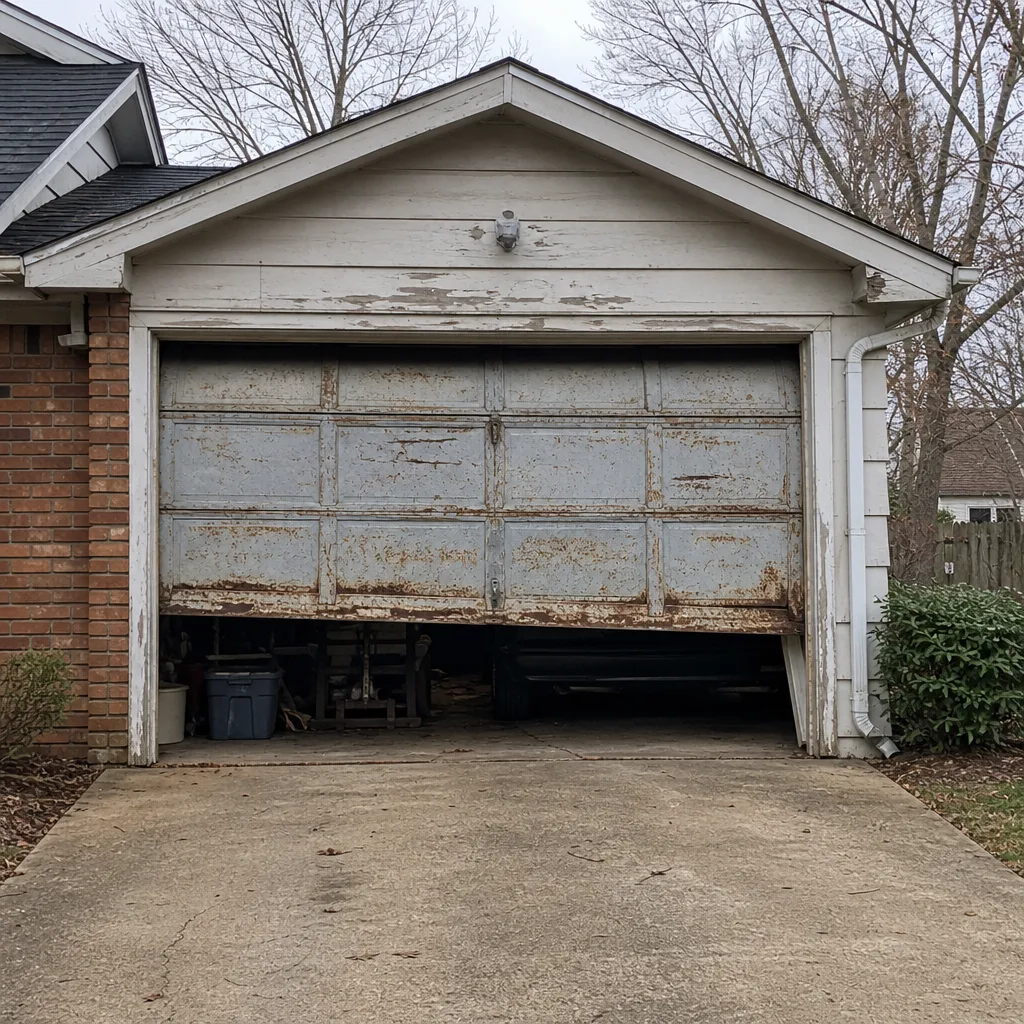 Before
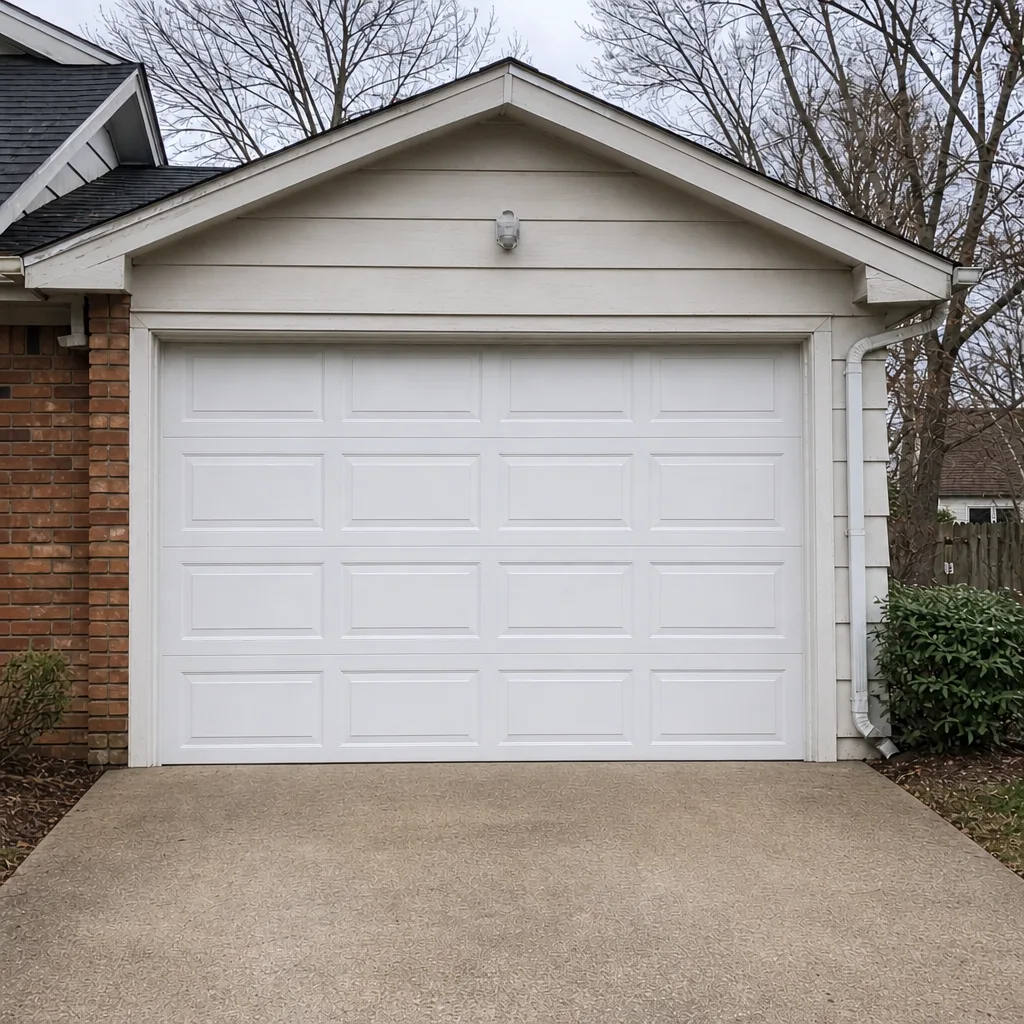 After
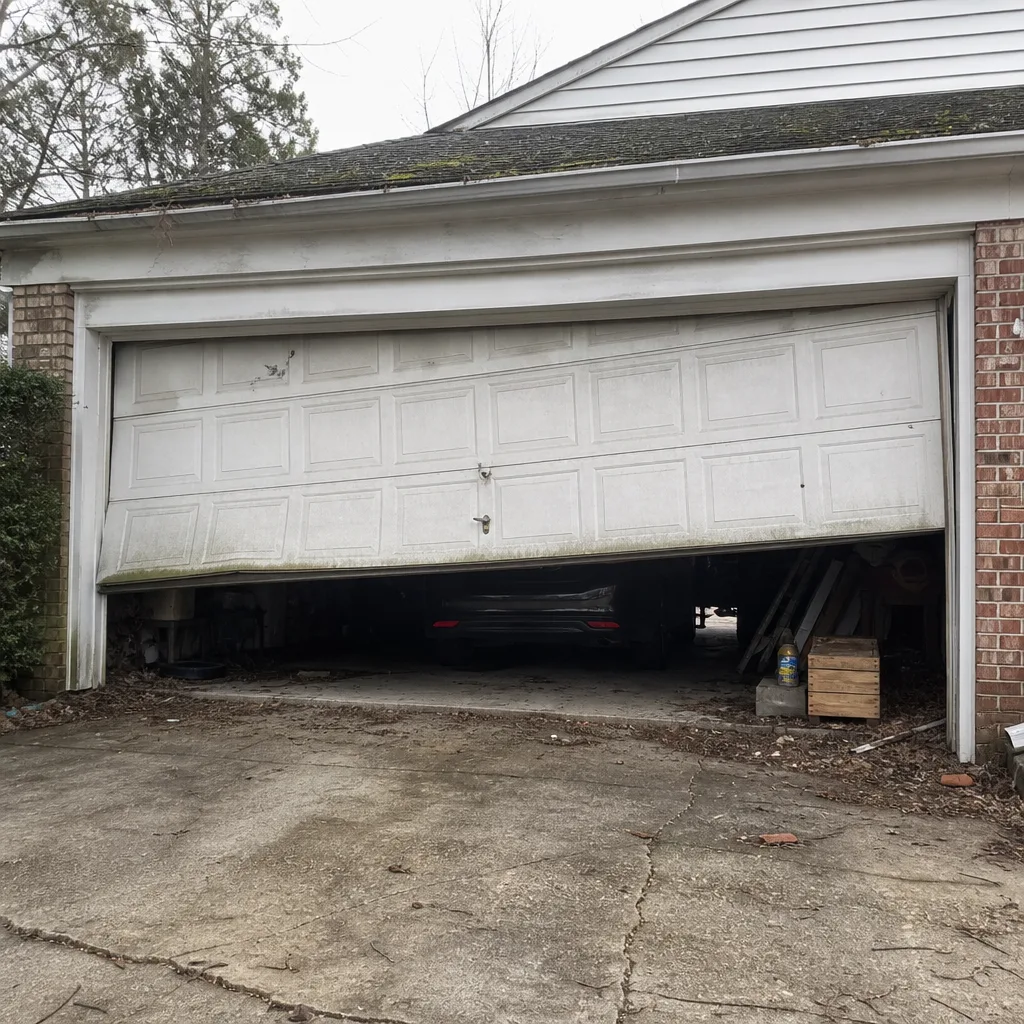 Before
 After
 Before
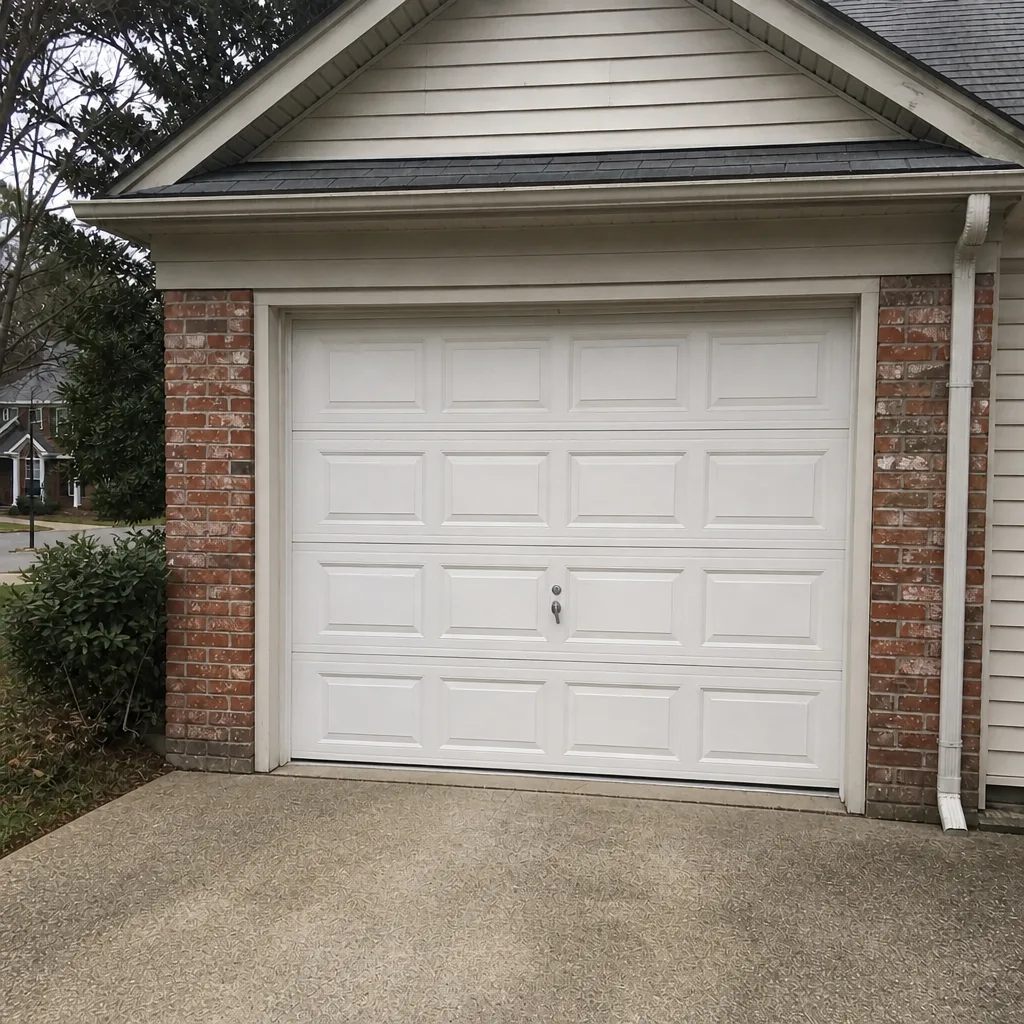 After
When to Call a Professional
Some opener problems are routine maintenance. Others are safety issues that need a trained technician – and sometimes a trained garage door repair specialist as well, because the failure may involve the door rather than the opener. Call a professional when the door fails the safety reversal test, when the door is heavy to lift by hand, when the opener hums but won’t lift, when you hear grinding or popping from the housing, or when the door travels unevenly and pausing. Spring and cable problems always warrant a professional call – those parts are under high tension and can cause serious injury. If you’re not sure whether the problem is the door or the opener, that’s also a good reason to call. A trained technician can tell you which side of the system is failing.
Stallion Garage Door Service offers free estimates in Richmond – call (844) 834-1312.
Frequently Asked Questions
Twice a year is the standard for Richmond – once in spring and once in fall. That schedule works because it hits both the transition into summer heat (when capacitors and logic boards are stressed) and the transition into winter cold (when motors work harder). If your opener is more than eight years old, or if you have a chain drive that’s never been lubricated, adding a technician check once a year is worth it. The rest of the checklist items – safety reversal, force test, battery backup – can be done in about 15 minutes on your own.
You can do most routine maintenance yourself: lubricating the chain or screw, testing safety reversal and force limits, testing battery backup, cleaning the photo-eye lenses, and inspecting the belt or chain. You should not adjust torsion springs or cables, replace capacitors or logic boards, or troubleshoot any problem that requires opening the opener housing. Those are technician jobs. As a general rule, if the task involves high tension or 120-volt electrical components, call a professional.
Summer heat stresses two components more than anything else: the start capacitor and the logic board. A weakening capacitor shows up as a motor that hums or lifts slowly on hot afternoons and works fine in the morning. Logic boards develop cracked solder joints under thermal cycling, which causes intermittent remote failures or unexplained reversals. If your opener only acts up in heat, that’s the pattern to look at. A technician can test the capacitor and the board in one visit.
Battery backup is a smart upgrade for Richmond because summer thunderstorms regularly knock out power. If your opener doesn’t have it, you can retrofit an add-on backup unit on most openers. If you’re installing a new opener, choosing a model with battery backup built in costs less than retrofitting. Test the battery once a year before storm season, and replace it on schedule – a backup that’s never been tested isn’t really a backup.
It means the door is mechanically balanced, but the safety sensor or the opener’s logic isn’t responding to an obstruction. On most openers that’s either a misaligned photo-eye, a failed sensor, or a logic board issue. The photo-eyes are the most common culprit and the easiest to fix. If aligning the sensors doesn’t fix it, stop using the opener and call a technician – a door that doesn’t reverse on an obstruction is a safety hazard.
Call a technician who services multiple brands, not the manufacturer. Chamberlain, LiftMaster and Genie all use standard components that a trained garage door specialist carries and services. Manufacturer support will walk you through basic troubleshooting but can’t physically inspect the opener, test the capacitor, or adjust the force. A technician who works on multiple brands can diagnose and repair on the same visit, which is faster and usually cheaper than waiting on a warranty process. At Stallion Garage Door Service we service LiftMaster, Chamberlain, Genie, Clopay, Amarr, Wayne Dalton, Craftsman and Raynor systems – the eight most common brands in Richmond homes.
The Bottom Line
A garage door opener that gets routine maintenance in Richmond lasts longer and fails less often than one that doesn’t. Test the safety reversal and force limits twice a year. Lubricate the chain, screw or belt rail on the same schedule. Test the battery backup before storm season. Know which tasks belong to the checklist (routine wear) and which belong to a technician (failing capacitors, logic boards, spring and cable problems). The specific items that matter most depend on your opener type – a belt drive needs belt and pulley checks, a chain drive needs lubrication, a screw drive needs re-greasing, and a jackshaft needs its torsion system inspected. When a checklist item fails, don’t adjust the force setting to compensate. Find out why the door is straining.
Whether your opener needs a routine check or a repair, we work on the system you already have. Our technicians have up to 13 years of experience across every major opener and door brand, and we handle both the door and the garage door opener repair in a single visit. For an expert look at your opener, or to schedule Stallion Garage Door Service for a routine maintenance visit or an emergency repair, call (844) 834-1312 for a free estimate.
Written by the team at Stallion Garage Door Service.